Celebrate with a Delicious 30th Birthday Cake
Did you know nearly 8 in 10 home bakers search for simple, foolproof recipes when planning a milestone party? That level of interest shows people want a striking dessert that feels special but stays doable.
This Website contains affiliate links. That means I may earn a small commission if you purchase through my links, at no extra cost to you.
This guide walks you through a realistic, step-by-step recipe to bake, decorate, and present a standout 30th birthday treat. You’ll get clear pan sizes, mixing tips, oven temps in Fahrenheit, and a silky buttercream that’s simple to smooth and pipe.
Expect practical fixes for common issues like dry layers, domed tops, and frosting mishaps so the final result looks polished and tastes bakery-quality. We also explain why the number motif works so well for milestone gatherings at home, restaurants, or rented venues.
Throughout, we reference images, videos, and templates to help you choose styles and color palettes fast. The focus is the United States—ingredients, grocery options, and timelines that match local kitchens and schedules.
Key Takeaways
- Follow a realistic, step-by-step recipe for a memorable milestone dessert.
- Learn exact tools, pan sizes, oven temps, and bake times for reliable results.
- Use simple buttercream techniques to avoid frosting mishaps.
- Number-themed designs make the celebration feel personal and photo-ready.
- Find inspiration from images, videos, and templates to speed decisions.
- Plan make-ahead steps so the timeline stays stress-free on the day.
A Friendly Guide to Baking a Memorable 30th Birthday Treat
Planning a memorable milestone dessert can be simple with a clear plan and the right tools. This short guide lists what people search for and the must-have gear so you can pick a direction fast.

What people search for when planning a 30th birthday cake
Busy hosts look for quick bakes, easy frosting tips, and trendy color ideas. Many also search “how to cut and assemble” when trying a multi-layer project for the first time.
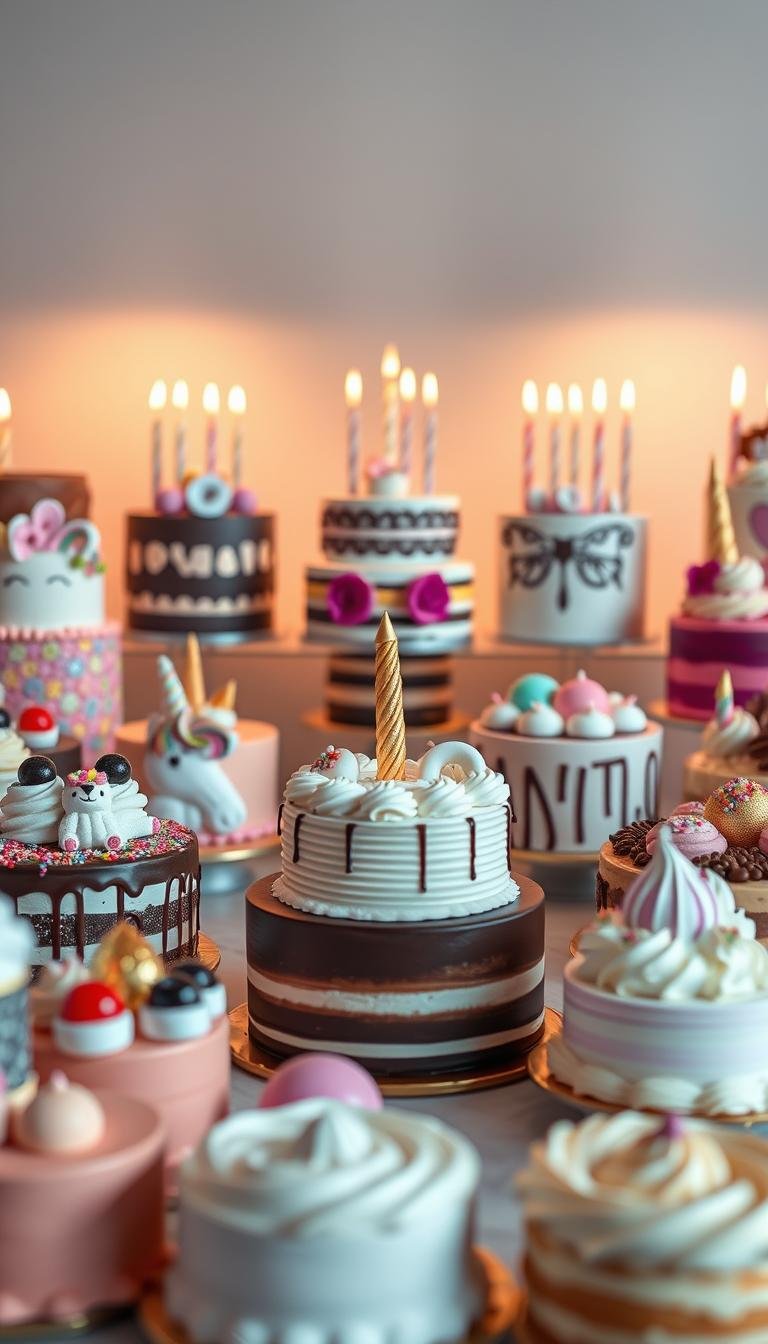
Users compare images and videos, filter by duration and 4K resolution, and save templates. Browsing 473+ assets helps narrow style choices fast.
What you’ll need at a glance
Essential gear includes two to three 8-inch round pans, parchment, a digital scale, mixer, scrapers, piping bags, and a serrated knife. Consumables cover flour, butter, eggs, sugar, vanilla, and milk or buttermilk.
| Item | Purpose | Notes |
|---|---|---|
| 8-inch pans (x2–3) | Layer baking | Use parchment circles for clean release |
| Stand or hand mixer | Mix batter & frosting | Digital scale improves accuracy |
| Offset & bench scrapers | Smoothing frosting | Buy metal for durability |
| Printable templates | Number layouts | Print “3” and “0” to guide carving |
30th birthday cake: Foolproof Recipe, Tools, and Step‑by‑Step
Simple techniques and precise timing turn an ambitious number design into an easy win.
Ingredients for moist layers: Use room-temperature unsalted butter, room-temperature eggs, and cake flour for a tender crumb. Add fresh baking powder, whole milk or buttermilk for softness, and pure vanilla extract for balanced flavor.

Essential tools and pan sizes
Choose two or three 8-inch rounds for a classic tier. For a number design, bake one or two 9×13 sheets to carve clean “3” and “0” shapes.
Must-haves: digital scale, parchment, serrated knife, offset spatula, and a bench scraper.
Mixing method for a tender crumb
Cream butter and sugar until light. Add eggs one at a time, then alternate dry ingredients with milk. Stop mixing once the flour is incorporated to avoid a dense texture.
Bake times & temperature
Set oven to 350°F as a baseline.
- 8-inch rounds: 24–30 minutes
- 9-inch rounds: 26–32 minutes
- 9×13 sheet: 28–35 minutes
Check with a toothpick and watch for slightly pulled edges.
Silky buttercream and assembly
Beat butter until pale, then add sifted confectioners’ sugar, a pinch of salt, vanilla, and a splash of milk or cream. Whip 3–5 minutes for spreadable, pipeable frosting.
| Step | Action | Timing / Tip |
|---|---|---|
| Cool & level | Cool in pans 10–15 min, then fully cool and level domes | Use serrated knife; wrap layers if freezing |
| Crumb coat | Apply thin buttercream layer and chill | Chill 20–30 minutes for a clean finish |
| Storage | Wrap layers and refrigerate or freeze; store buttercream airtight | Layers: fridge 2 days / freeze 2 months; buttercream: 1 week |
| Transport | Chill assembled cake, use non-slip mat | Chill 30–60 minutes; avoid heat and direct sun |
Pro tip:Bring chilled frosting to room temp and rewhip before final use to restore silky texture.
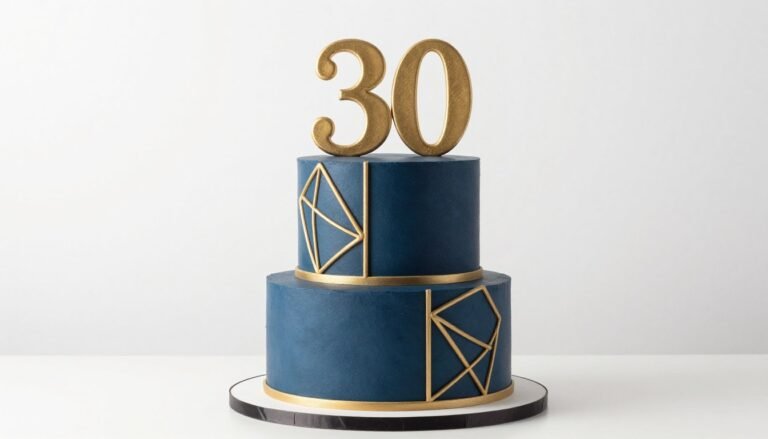
Design Ideas and Number “30” Decorations to Wow
Smart carving and simple piping give the number shapes clean, photo-ready edges. Start with chilled sheet layers and printed templates to trace the “3” and “0” before you cut. Keeping layers cold makes carving neater and reduces crumbs.

How to create a number cake shaped as 3 and 0
Place templates on the chilled sheet, cut with a long serrated knife, and set the pieces slightly apart. Use a thin frosting dam between layers, then chill after the crumb coat to lock contours.
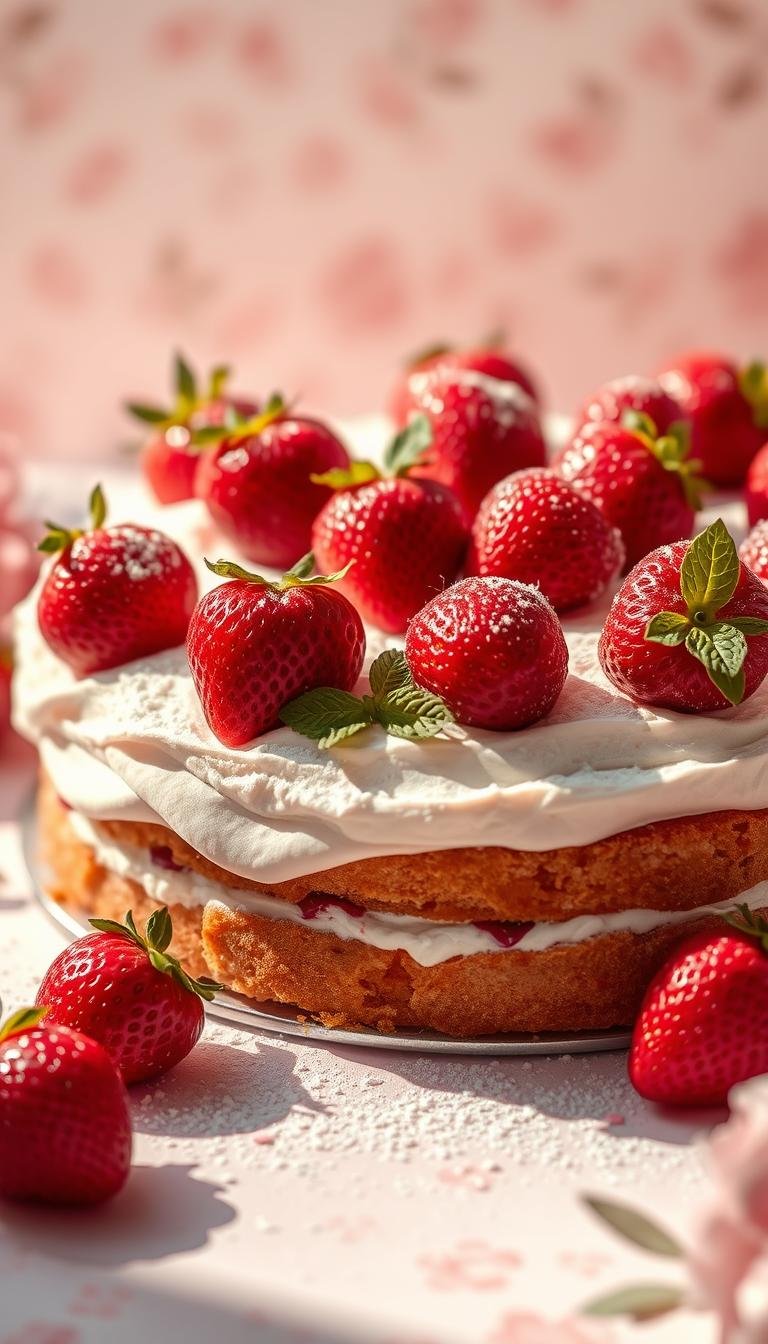
Flavor twists
Go bold with dark chocolate and cocoa buttercream, keep it classic with vanilla bean, or add fizz with a champagne syrup and buttercream for a celebratory note.
Modern looks and media inspiration
Browse 4K short clips (00:05–00:35) and high-res images to pick palettes like metallic accents, minimal neutrals, or bright confetti. Save favorites into a mood board for consistent decor choices.
Regional visual cues
North America favors clean or rustic finishes. South America uses bold color and fruit accents. Asia Pacific leans refined palettes and delicate florals. Match finishes to venue lighting for best photos.
Conclusion
A short roadmap—shop, prep, chill, decorate—turns a big project into a calm one. Follow the flow: gather pans and tools early, mix for a tender crumb, and stick to reliable oven temps.
Make layers ahead and refrigerate or freeze them. Rewhip buttercream before the final spread so it smooths and pipes easily. This helps the final birthday display look neat and professional.
Pick a design that suits your style—classic rounds or a bold number layout—and match flavors to the guest of honor. For a memorable centerpiece, stage the birthday cake on a sturdy board and transport it chilled.
Keep lighting soft when you reveal it so textures and colors pop in photos. Enjoy the moment—good planning makes this celebration effortless.
FAQ
What size pans should I use for a number-shaped 30 dessert?
Use rectangular or sheet pans to bake two slab layers, then cut the digits from templates. For a simpler approach, bake round pans and carve the shapes. Typical sizes: two 9×13 inch sheets or three 8- or 9-inch rounds yield enough cake for a crowd.
How far ahead can I make layers and buttercream?
Bake layers up to 3 days in advance and wrap them tightly in plastic. Store buttercream in an airtight container in the fridge for up to 5 days; bring it to room temperature and rewhip before using. You can also freeze unfrosted layers for up to 3 months.
What simple flavors work best for a milestone celebration?
Classic vanilla, rich chocolate, and light champagne-infused sponge all please guests. Add fillings like fruit curd, salted caramel, or chocolate ganache to elevate the profile without complicating the process.
How do I make a smooth, stable buttercream for decorating a number design?
Use an American or Swiss meringue buttercream with the correct butter-to-sugar ratio. Beat fully softened butter, add sifted powdered sugar gradually, and stabilize with a bit of cream cheese or a small amount of meringue powder if needed for hot venues.
What tools are essential for creating a polished number look?
Invest in an offset spatula, bench scraper, pastry bags and tips, a sharp serrated knife for carving, and cardboard templates for each digit. A turntable helps for smoothing finishes and piped borders.
Can I make a number dessert without advanced carving skills?
Yes. Use pre-made cardboard templates, trace onto cake layers, and stack. Alternatively, assemble sheet cakes with foil-covered cake boards and top with piped borders and edible decorations for a clean, impressive result.
How do I prevent a crumb coat from showing through colored icing?
Apply a thin crumb coat of chilled buttercream, refrigerate until firm, then apply the final layer. Use a light dusting of powdered sugar between coats if the crumb load is heavy, and smooth with a warm spatula for even coverage.
What are quick ideas for themed decorations and numbers?
Use edible gold leaf, fresh berries, macarons, or molded chocolate pieces as accents. Number toppers in acrylic or wood give height. For a playful vibe, add sparklers, lettered fondant, or customized printed edible images.
How do I adjust bake times for different pan sizes?
Thinner pans like 9×13 bake faster than deep tube pans. Reduce oven time and check doneness with a toothpick inserted in the center. For round pans, start checking 5–10 minutes before the recipe time, and use visual cues: golden edges and a springy center.
Are there regional trends to inspire design and flavors?
Yes. North American styles favor buttercream ruffles and drip effects; South American desserts often highlight dulce de leche and tropical fruit; Asia Pacific trends include matcha, black sesame, and delicate floral motifs. Mix ideas to suit local tastes.
How can I transport a number-shaped dessert without damage?
Chill the assembled cake until firm, place it on a non-slip mat in a low box, and secure with tape or padding. Drive on a flat surface and avoid sudden stops. For long distances, transport layers separately and assemble on site.