Strawberry cake pops are the perfect bite-sized treats that combine moist strawberry cake, creamy frosting, and a crisp candy coating. These adorable pink delights on a stick aren’t just delicious – they’re also incredibly versatile for parties, holidays, or anytime you need a special sweet treat. Whether you’re a beginner or experienced baker, this comprehensive guide will walk you through creating picture-perfect strawberry cake pops that taste as amazing as they look!
This Website contains affiliate links. That means I may earn a small commission if you purchase through my links, at no extra cost to you.
Why You’ll Love These Strawberry Cake Pops
Perfectly Portable: These handheld treats are ideal for parties, bake sales, or gifting to friends and family.
Customizable: Easily adapt the decorations for any occasion from Valentine’s Day to baby showers.
Make-Ahead Friendly: Prepare these cake pops days in advance and store them until your event.
Kid-Approved: Children love both making and eating these fun treats on a stick!
Impressive Presentation: These cake pops look professional but are surprisingly simple to make.
Crowd-Pleasing Flavor: The sweet strawberry and creamy white chocolate combination is universally loved.
Portion Control: Each pop provides the perfect bite-sized dessert satisfaction.
Beginner-Friendly: With our tips and tricks, even first-time bakers can achieve great results.
Essential Ingredients for Strawberry Cake Pops
For the Cake Base:
Strawberry Cake Mix: The foundation of our cake pops. You can use a boxed mix like strawberry cake mix or make your own from scratch.
Eggs, Oil, and Water: To prepare the cake according to package directions.
Cream Cheese Frosting: Helps bind the cake crumbs together and adds a tangy flavor that complements the sweet strawberry perfectly.
Freeze-Dried Strawberries (optional): For an extra punch of concentrated strawberry flavor.
For Coating and Decorating:
White Candy Melts or White Chocolate: Creates a smooth, firm coating. Find quality options here.
Vegetable Oil: A teaspoon helps thin the chocolate for easier dipping if needed.
Pink Food Coloring (optional): To create pink coating or drizzle.
Preheat your oven according to the cake mix package directions (typically 350°F/175°C).
Prepare the strawberry cake mix according to package instructions, combining with eggs, oil, and water.
Pour the batter into a greased 9×13-inch baking pan.
Bake for the recommended time (usually 25-30 minutes) until a toothpick inserted in the center comes out clean.
Allow the cake to cool completely. This is crucial – working with warm cake will result in mushy cake pops!
Pro Tip: For enhanced strawberry flavor, add 1/4 cup of pulverized freeze-dried strawberries to your cake mix before baking.
Step 2: Create the Cake Pop Mixture
Once completely cooled, crumble the entire cake into fine crumbs in a large bowl. You can use your hands or a fork for this step.
Add 3-4 tablespoons of cream cheese frosting to the crumbs. Start with less – you can always add more!
Mix until the mixture is moist enough to hold together when pressed, but not too wet or sticky.
The perfect consistency should feel like soft cookie dough and hold its shape when rolled into a ball.
Important: Adding too much frosting will make your cake pops too soft and they may fall off the sticks. Start with less frosting than you think you need!
Step 3: Form and Chill the Cake Balls
Using a cookie scoop or tablespoon, portion the mixture into 1-inch balls (about 1 tablespoon each).
Roll each portion between your palms to create smooth, round balls.
Place the cake balls on a parchment-lined baking sheet.
Refrigerate for at least 1 hour or freeze for 30 minutes until firm.
Size Matters: Keep your cake balls on the smaller side (about 1 inch in diameter). Larger cake balls are heavier and more likely to fall off the sticks.
Step 4: Prepare for Dipping
Melt a small amount of white candy melts or white chocolate in a microwave-safe bowl according to package directions.
Dip the tip of each lollipop stick about 1/2 inch into the melted chocolate.
Immediately insert the chocolate-dipped end into a chilled cake ball, pushing it in about halfway.
Return the cake pops to the refrigerator for another 15 minutes to allow the chocolate to set and secure the sticks.
“Dipping the sticks in chocolate first acts like glue and is the secret to keeping your cake pops from falling off the sticks!”
Step 5: Dip and Decorate
Melt the remaining white candy melts or white chocolate in a deep, narrow container (a 2-cup measuring cup works perfectly).
If the chocolate seems too thick, add 1-2 teaspoons of vegetable oil to thin it to a good dipping consistency.
Working with one cake pop at a time, dip the entire cake ball into the melted chocolate, ensuring complete coverage.
Gently tap the stick against the edge of the container to remove excess coating and create a smooth finish.
While the coating is still wet, add sprinkles or other decorations.
Place the finished cake pops upright in a styrofoam block or box with holes poked in it to dry completely.
Dipping Tip: Keep your melted chocolate in a deep, narrow container rather than a wide bowl. This makes it much easier to fully submerge the cake balls without having to tilt and rotate them too much.
Troubleshooting Common Cake Pop Problems
Why are my cake pops falling off the sticks?
This typically happens for three reasons: 1) The cake balls are too heavy, 2) You didn’t dip the sticks in chocolate before inserting them, or 3) The cake mixture is too moist. Make sure your cake balls are small (about 1 inch), always dip the sticks in chocolate first, and use less frosting in your mixture.
Why is my chocolate coating cracking?
Cracking usually occurs when there’s a temperature difference between your cold cake balls and the warm chocolate. Let your cake balls sit at room temperature for 5-10 minutes before dipping, while keeping the remaining balls refrigerated.
My chocolate coating is too thick. How can I fix it?
Add 1-2 teaspoons of vegetable oil to thin the chocolate to a better dipping consistency. Be careful not to add too much oil, as this can prevent the coating from setting properly.
How do I get a smooth finish without lumps or drips?
Ensure your chocolate is properly melted and smooth before dipping. After dipping, gently tap the stick against the edge of your container to remove excess coating, then rotate the pop slowly to distribute the coating evenly before it sets.
Creative Variations for Any Occasion
Valentine’s Day
Dip in red or pink candy melts
Decorate with heart-shaped sprinkles
Drizzle with contrasting chocolate
Package in clear bags with red ribbons
Birthday Celebrations
Use colorful rainbow sprinkles
Add edible glitter for sparkle
Create number shapes for age-specific pops
Match colors to party theme
Baby Showers
Use pastel pink or blue coating
Decorate with pearl sprinkles
Shape some into mini rattles or onesies
Display on a tiered stand
Need Decorating Supplies?
Find everything you need to create these beautiful variations!
Fully set cake pops can be stored at room temperature for 1-2 days.
Keep in a cool, dry place away from direct sunlight.
Store in a container with parchment paper between layers.
Refrigerator
Store in an airtight container for up to 1 week.
Place a paper towel in the container to absorb excess moisture.
Allow to come to room temperature before serving for best flavor.
Freezer
Freeze finished cake pops for up to 1 month.
Wrap each pop individually in plastic wrap before placing in a container.
Thaw in the refrigerator overnight before serving.
Make-Ahead Options
Prepare cake balls and freeze (without sticks) for up to 2 months.
Thaw in refrigerator overnight, then proceed with sticks and dipping.
Complete cake pops 1-2 days before your event for freshest results.
Gifting and Presentation Ideas
Strawberry cake pops make wonderful homemade gifts that are sure to delight friends, family, teachers, or neighbors. Here are some creative ways to present your cake pops:
Individual Wrapping: Place each cake pop in a clear cellophane bag tied with a pretty ribbon.
Cake Pop Bouquet: Arrange several cake pops in a decorative pot or vase filled with floral foam covered with tissue paper.
Gift Box: Line a small box with tissue paper and arrange cake pops inside for an elegant presentation.
Party Favors: Add a personalized thank you tag to individually wrapped cake pops for perfect party favors.
Dessert Table: Display on a tiered stand or cake pop stand for a beautiful dessert table centerpiece.
Perfect Your Presentation
Find beautiful packaging supplies to showcase your homemade cake pops!
With this comprehensive guide, you’re now equipped to create delicious, picture-perfect strawberry cake pops that will impress everyone! Remember that practice makes perfect – your first batch might not be flawless, but each time you make them, you’ll develop more skill and confidence.
These sweet treats are perfect for birthdays, Valentine’s Day, baby showers, or anytime you want to bring a smile to someone’s face. The combination of moist strawberry cake, creamy frosting, and smooth white chocolate coating creates an irresistible bite-sized dessert that everyone will love.
Share Your Creations!
We’d love to see your strawberry cake pops! Save this recipe to Pinterest and tag us in your photos when you make them.
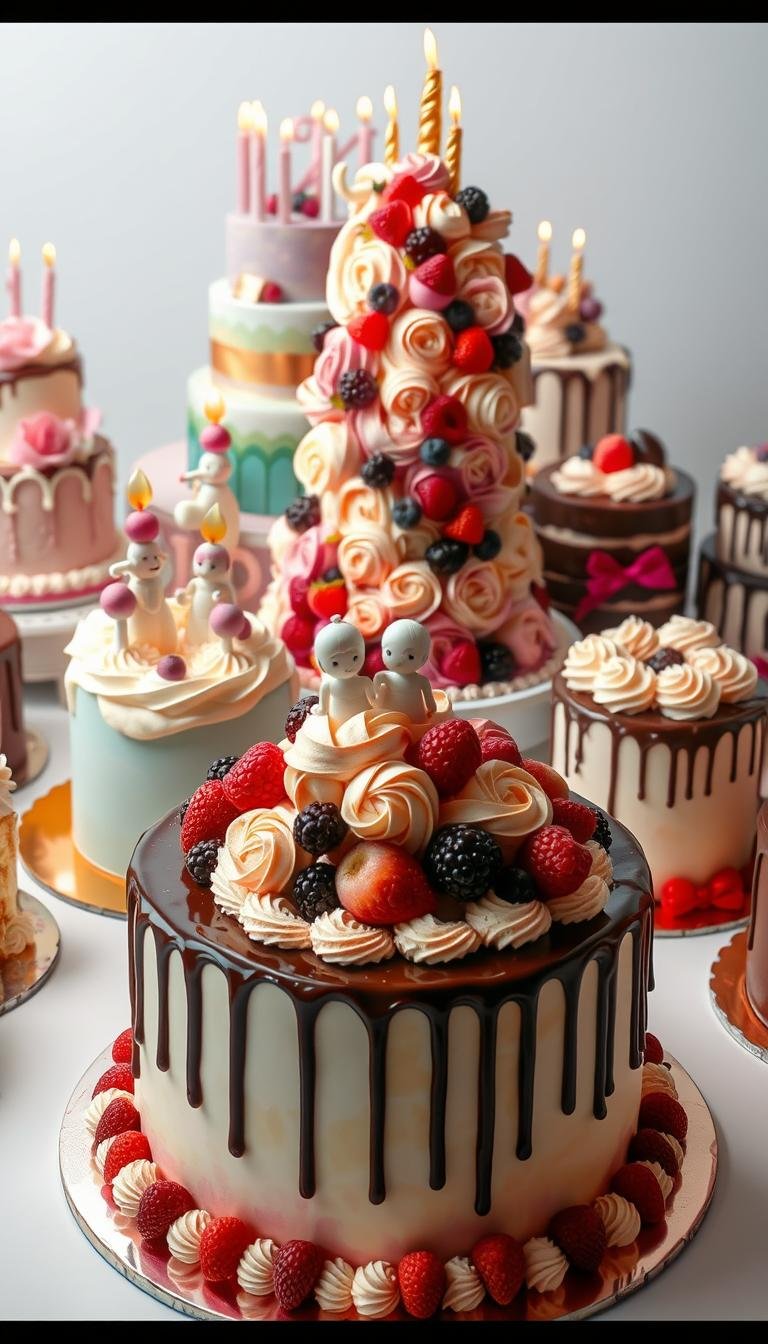
Birthday cake aesthetic is all about capturing the joy and charm of celebrating another trip around the sun with delicious and visually appealing cakes. From stunning designs to playful decorations, this trend highlights the creativity and personal touches that make each cake a centerpiece of the celebration. Whether it’s a classic layered cake or a…
One in four hosts now admits they order a centerpiece instead of baking one, yet homemade desserts still steal the show at most gatherings.This Website contains affiliate links. That means I may earn a small commission if you purchase through my links, at no extra cost to you. This guide helps you make a stunning…
Surprising fact: nearly half of milestone parties now pick a photogenic cake as the focal point, making the dessert the star of the room.This Website contains affiliate links. That means I may earn a small commission if you purchase through my links, at no extra cost to you. That shift changes how we plan a…
Surprising fact: nearly half of celebrants say the centerpiece dessert defines a party’s vibe. That means the right treat can set the mood before anyone says cheers.This Website contains affiliate links. That means I may earn a small commission if you purchase through my links, at no extra cost to you. Start by matching the…
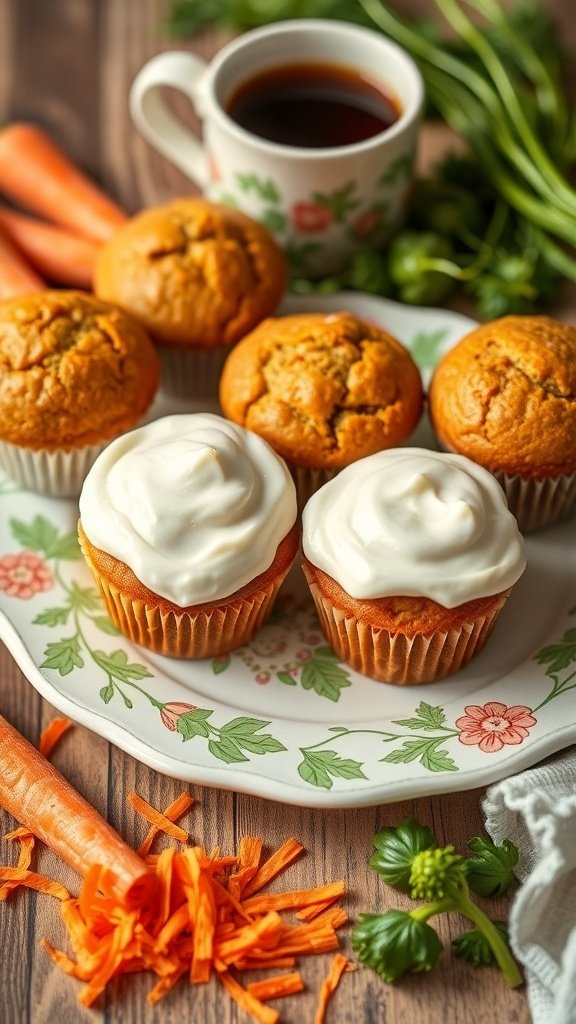
Craving a slice of moist, flavorful carrot cake without the fuss? This easy recipe is perfect for whipping up a delicious dessert in no time! With simple ingredients and straightforward steps, you’ll have a delightful cake that’s sure to impress friends and family.This Website contains affiliate links. That means I may earn a small commission…
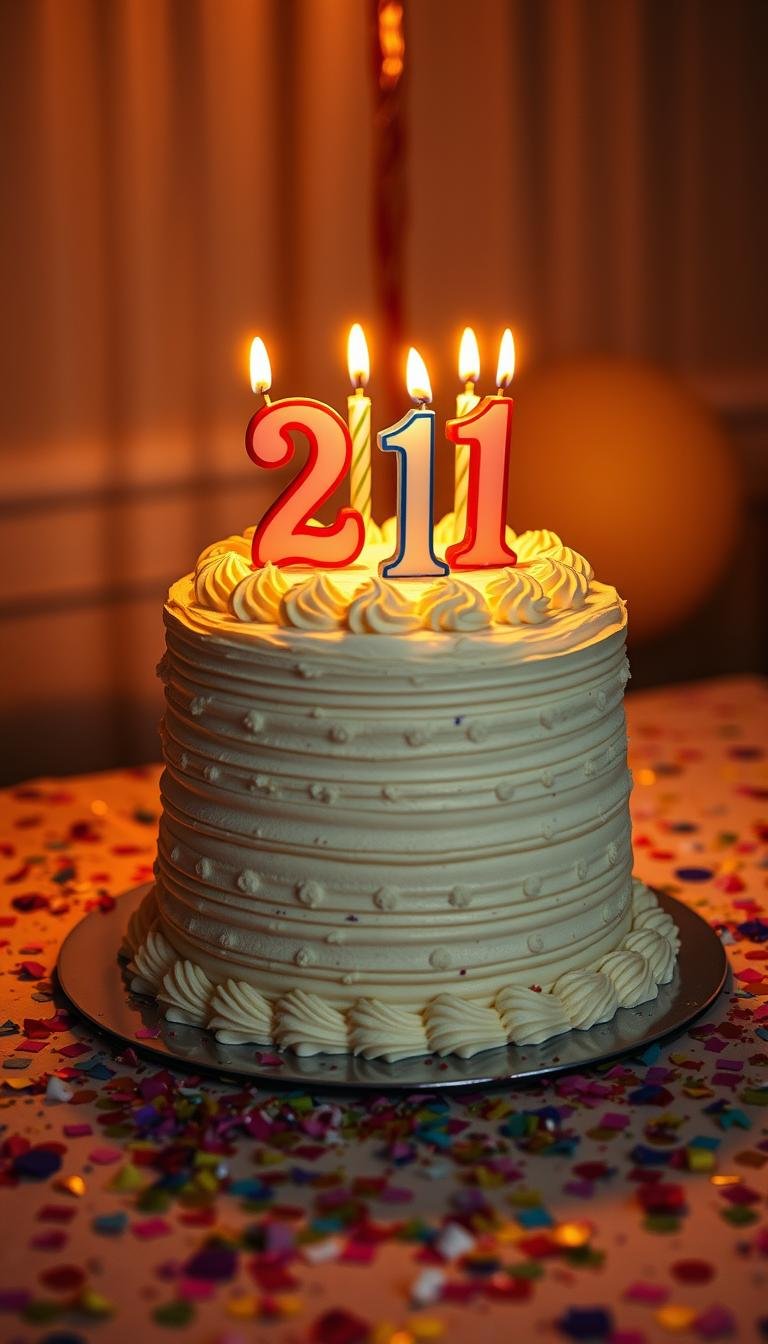
Turning 21 is a milestone worth celebrating in spectacular fashion. It marks the transition to adulthood and deserves a party that reflects this significant moment. Finding the perfect 21st birthday theme can transform an ordinary celebration into an unforgettable event that captures your personality and creates lasting memories. Whether you’re planning for yourself or a…