Did you know that desserts shape more than half of how guests remember a party? A memorable centerpiece can lift a celebration from simple to standout.
This Website contains affiliate links. That means I may earn a small commission if you purchase through my links, at no extra cost to you.
This short guide pairs reliable bakery techniques with trend-forward flavors so anyone can bake a pro-level layer dessert at home. You’ll get clear steps for even bakes, flat layers, and fuss-free stacking.
We cover modern flavor combos like chocolate with salted caramel and vanilla bean with fresh berries, plus tools from 8- or 9-inch pans to offset spatulas. Expect tips on batter texture, bake times, cooling, and frosting choices.
Whether you want minimalist drips, metallic accents, or a photo topper, the approach keeps decorating simple and personal. Follow the shopping list to final flourish and you’ll serve a centerpiece that looks pro and tastes amazing.
Key Takeaways
Simple bakery techniques yield even, level layers ready for decorating.
Choose modern flavor pairings that appeal to Gen Z tastes.
Use basic pro tools for clean edges and smooth finishes.
Adjust frostings for filling, crumb coat, and final texture.
Include easy dietary swaps so more guests can enjoy a slice.
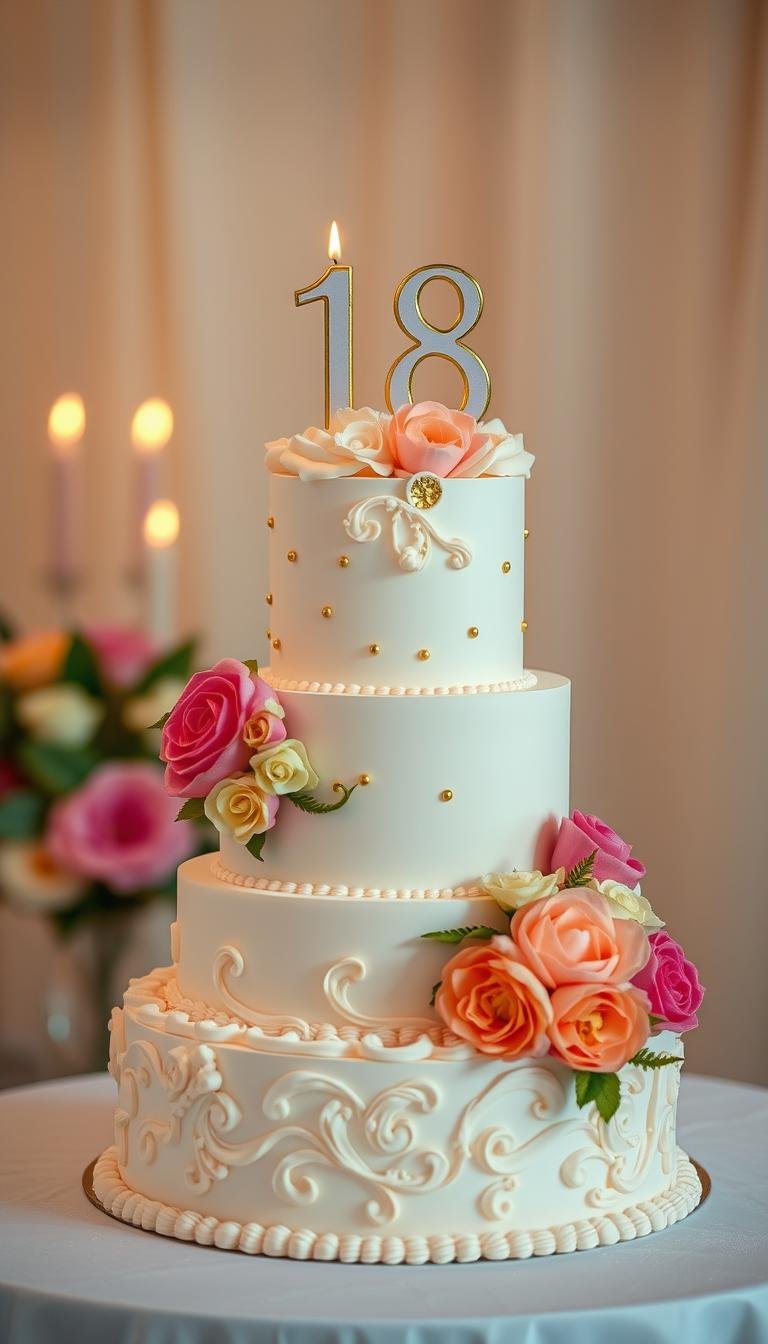
Celebrate Turning Eighteen: What Makes an 18th Birthday Cake Unforgettable Right Now
Trends today favor bold contrasts—think deep chocolate layers paired with bright, tangy fillings for a grown-up party vibe.
Build your flavor story around contrast. Rich cocoa with salted caramel buttercream and a thin caramel ribbon gives a sweet‑salty finish that feels sophisticated and fun.
For a lighter slice, pair vanilla bean sponge with strawberry compote and whipped mascarpone. Fresh berries add acidity and a pop of color that looks great in slices and on top.
Matcha with white chocolate offers a modern, slightly bitter balance. A pale green exterior and white chocolate drip read trendy without being fussy.
Mocha layers and espresso buttercream suit coffee lovers. A thin dark ganache layer adds depth and a café-style polish between tiers.
Textural contrast matters: sprinkle feuilletine, praline crumbs, or toasted coconut between layers. Keep pieces small so the cake stacks cleanly and slices hold their shape.
Citrus curds (lemon, yuzu) cut sweetness and brighten each bite.
Nostalgic crunch like crushed Oreos or Biscoff folded into buttercream adds fun without collapsing structure.
Keep sweetness balanced and use color to hint at flavor—pistachio greens, berry pinks, or caramel golds make slices as memorable as the moment.
18th birthday cake: Step-by-Step Recipe, Frosting, and Fail‑Safe Tips
Begin with ingredient control and simple tools to ensure flat, stable tiers every time. Below is a compact, reliable workflow for a three‑layer 8‑inch bake that yields moist layers and clean assembly.
Ingredients & smart swaps
Basic ingredients: 2½ cups (300 g) all‑purpose flour, 2 cups (400 g) granulated sugar, 1 cup (240 ml) whole milk, ¾ cup (170 g) unsalted butter, 4 large eggs, ½ cup (120 ml) neutral oil, 2½ tsp baking powder, ½ tsp baking soda, 1 tsp salt, 1–2 tbsp vanilla.
For chocolate: swap ¾ cup flour for ¾ cup Dutch‑process cocoa and add 1 cup hot coffee. Try buttermilk for extra tenderness or replace some sugar with light brown sugar for moisture.
Tools, pan prep, and mixing method
Use three 8‑inch pans, a digital scale, stand mixer, offset spatulas, parchment rounds, and a turntable.
Prep pans: butter or spray, line with parchment, dust lightly with flour. Wrap pans with damp cake strips to reduce doming.
Mix: cream butter and sugar 3–4 minutes, add oil, beat in eggs one at a time. Alternate dry and wet, mixing low and stopping when just combined.
Bake, cool, frost, and assemble
Divide batter evenly (use a scale). Bake at 350°F (175°C) for 22–28 minutes. Look for centers that spring back and a toothpick with a few moist crumbs.
Cool 10–15 minutes in pans, turn onto racks, then wrap layers barely warm to lock moisture. Chill 30–60 minutes before leveling.
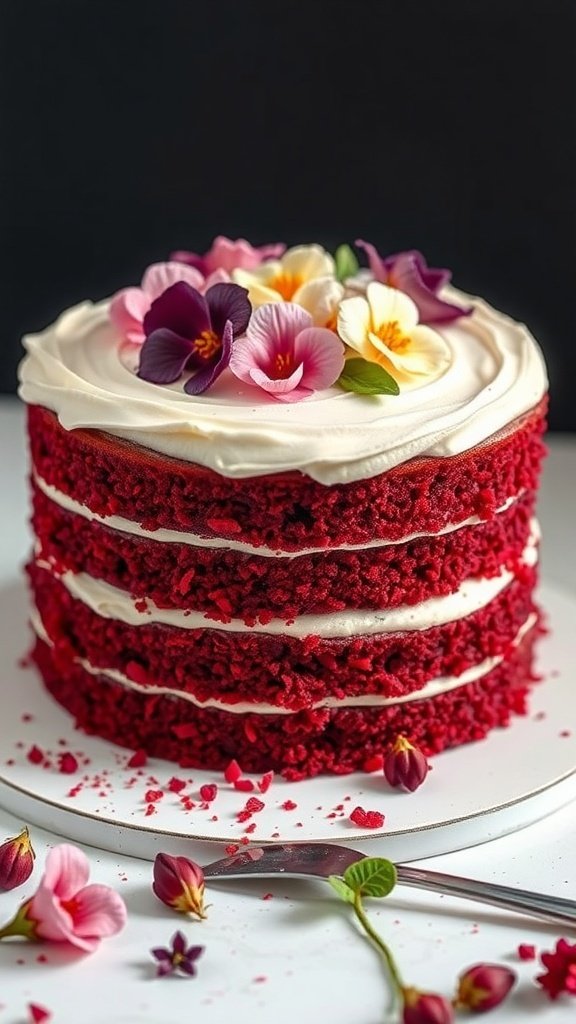
Frosting options: stable American buttercream for structure; stabilized whipped cream for lightness; cream cheese frosting for tang. Anchor layers with a dollop of frosting, pipe a dam for soft fillings, then apply a thin crumb coat and chill 20–30 minutes before the final finish.
Fail‑safe fixes & dietary tweaks
Level domed layers with a serrated knife; use dowels or bubble tea straws to prevent sliding.
If frosting is stiff, add milk 1 tsp at a time; if too soft, chill briefly.
For gluten‑free: use a 1:1 blend with xanthan gum. For dairy‑free: plant butter and unsweetened alt‑milks. Avoid nut flours and check labels for nut‑free and vegan mixes.
Designs and Decorations to Match Your 18th: Modern Finishes, Color Palettes, and Toppers
Choose a focused finish to make the dessert feel current and personal. Aim for one main technique—drips, palette‑knife texture, or metallic accents—and let small add‑ons support the look.
On‑Trend Looks: Minimalist Drips, Palette Knife Textures, and Metallic Accents
Minimalist ganache drips work best with correct ratios: 1:1 dark chocolate to cream or 3:1 white chocolate to cream for opaque pastels. Test drip temperature on the back of the cake to avoid pooling.
Palette knife textures are quick. Apply buttercream in small swaths and layer two or three tones in one family for depth. For luxe detail, brush edible gold luster dust mixed with clear alcohol or add gold leaf sparingly.
Personalization Ideas: Number Toppers, School Colors, and Photo Elements
Keep toppers light—acrylic numbers, cardstock scripts, or small edible photo banners that curve with the tier. Use school colors as thin buttercream stripes or piped accents to make the design feel custom.
Pro tip: add tiny themed fondant tags or musical notes instead of heavy figurines to preserve structure and style the dessert without clutter.
Finishing Touches: Piping, Sprinkles, and Clean Slice Presentation
Stick to simple piping: French tip shells, micro‑rope, or dotted pearls that leave negative space. Press sprinkles into a chilled crumb coat for a crisp edge without smearing.
For service, warm a long knife in hot water, wipe dry between cuts, and slice 1‑inch portions. Chill the finished product 30–60 minutes before transport and use a non‑slip mat in the car.
Conclusion
Conclusion
You now have a complete plan—from flavor pairings to foolproof mixing, baking, and decorating—to turn an idea into a wow‑worthy centerpiece.
Keep it simple: pick one flavor path, one frosting style, and one design focus. Add a single personalized topper or color cue to make the finished piece yours.
Prep ahead when you can. Bake layers a day early, chill them wrapped, make frosting in advance, and assemble the morning of the event so the final finish stays fresh.
Think servings and storage: aim for 1‑inch slices for taller builds, refrigerate leftovers covered, and bring them to room temperature before serving.
Capture the moment: place the cake on a clean stand, use good light, add safe candles or sparklers, and snap a quick photo before slicing.
FAQ
How do I pick a flavor profile that feels modern and grown‑up?
Aim for contrast—pair a rich element like chocolate or espresso with a bright or salty component such as salted caramel, citrus curd, or fresh berries. Choose one dominant flavor and a supporting note to keep the slice balanced and memorable.
What pan sizes and tools give the most reliable, level layers?
Use three 8‑inch or three 9‑inch round pans for a classic three‑layer build. Key tools include a digital scale, offset spatulas, a bench scraper, parchment rounds, a turntable, and cake strips to reduce doming.
How can I prevent domed tops and get flat layers for stacking?
Weigh batter so pans fill evenly, bake at the recommended temperature, use cake strips or a water bath around pans, and cool layers 10–15 minutes in the pan before turning out. Chill layers slightly before leveling and filling.
Which frosting holds up best for decorations and transport?
Classic American buttercream offers the best stability for piping, palette textures, and drips. Stabilized whipped cream is lighter but less sturdy in heat; cream cheese frosting gives tang but softens faster in warm conditions.
How do I stop filled cakes from slipping when stacked?
Pipe a frosting dam around each layer to contain soft fillings, chill the cake between assembly steps, and insert two to three bubble tea straws or wooden dowels in taller stacks to provide internal support.
What are quick dietary swaps that keep texture and taste?
Use a 1:1 gluten‑free flour blend with xanthan gum for structure, plant‑based butter and unsweetened almond or oat milk for dairy‑free versions, and avoid nut flours or toppings to make the cake nut‑free. Test labels for cross‑contamination.
How much batter do I need for three 8‑inch layers?
For a standard three‑layer 8‑inch build, use the ingredient list provided: roughly 2½ cups (300 g) flour with 2 cups (400 g) sugar and the listed wet ingredients. Divide batter evenly by weight between pans for consistent layers.
What’s the easiest way to get a clean final finish and sharp edges?
Apply a thin crumb coat, chill for 20–30 minutes, then use a larger offset spatula and a bench scraper on a turntable for the final coat. Chill again briefly before adding delicate decorations like gold leaf or wafer paper.
How do I plan servings for a party size?
For a three‑layer 8‑inch cake, plan about 24–30 party‑size slices; for a 9‑inch, expect 30–38 slices. Serving size changes with slice width—offer 1‑inch tall portions for taller cakes to stretch servings.
What decorating ideas look high‑end but are simple to execute?
Try a pastel or neutral buttercream with a white chocolate or dark ganache drip, a few strategically placed sprinkles or metallic accents, and one acrylic or edible printed topper. Palette knife textures layered in two tones also photograph beautifully with minimal skill.
How far ahead can I bake and assemble to reduce day‑of stress?
Bake layers the day before, wrap them well and refrigerate. Make buttercream ahead and re‑whip if needed. Assemble and crumb‑coat the night before, then add the final coat and decorations the morning of the event for the freshest look.
Any tips for transporting the finished cake safely?
Chill the cake 30–60 minutes before moving, use a non‑slip mat in the vehicle, place the cake on a flat, stable surface (not a seat), and avoid direct sun or heat. Bring a small emergency kit with extra frosting and a spatula for quick touch‑ups.
Looking for some fun and unique birthday cake ideas? You’ve come to the right place! From colorful themes to delicious flavor combinations, we’ve got plenty of tasty inspirations to make any birthday celebration extra special.This Website contains affiliate links. That means I may earn a small commission if you purchase through my links, at no…
Your birthday is the one day of the year that’s all about celebrating you. Finding the perfect birthday inspo outfits can transform your special day from ordinary to extraordinary. Whether you’re planning an intimate dinner, a wild night out, or a casual gathering with friends, your birthday outfit should reflect your personal style while making…
Surprising fact: one home baker swapped honey for half pumpkin and half banana and cut oil with coconut, then reported dramatic improvement in texture and pup approval.This Website contains affiliate links. That means I may earn a small commission if you purchase through my links, at no extra cost to you. This introduction walks you…
Looking for some fun birthday cake ideas? You’ve come to the right place! From classic flavors to trendy designs, there’s something here for everyone. Let’s whip up some sweet inspiration for your next celebration!This Website contains affiliate links. That means I may earn a small commission if you purchase through my links, at no extra…
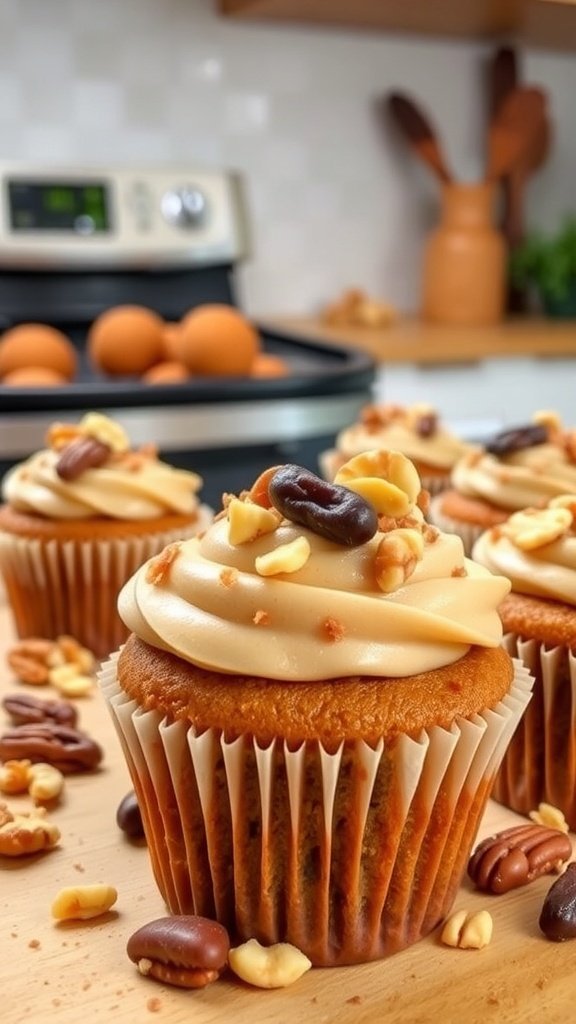
Carrot cake cupcakes are a fun twist on a classic favorite, combining the moist, spiced goodness of traditional carrot cake into individual, perfectly portioned treats. Topped with a creamy cream cheese frosting, these cupcakes pack all the delightful flavors of a classic dessert into a bite-sized delight, making them a great option for parties or…
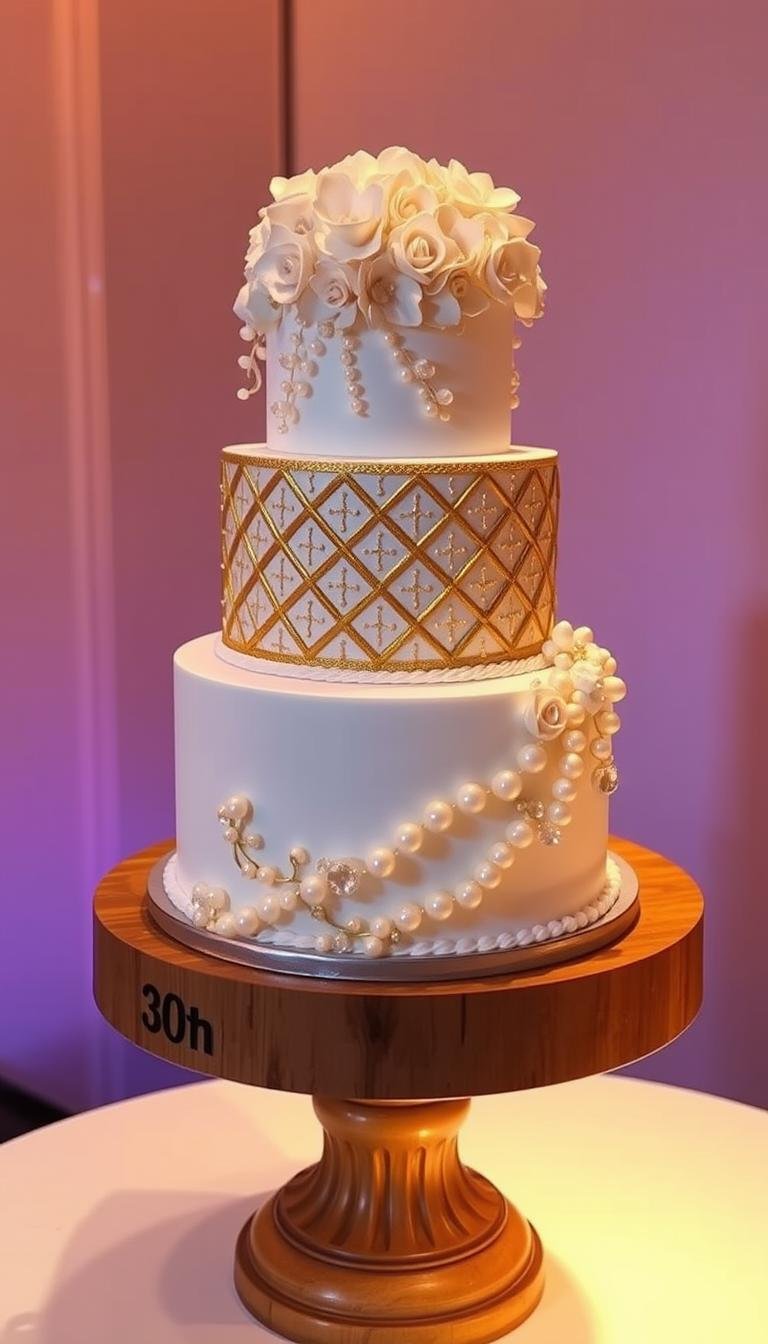
Surprising fact: nearly half of adults say turning 30 feels like a major life reset, and many mark it with a standout dessert that sets the tone for the whole party.This Website contains affiliate links. That means I may earn a small commission if you purchase through my links, at no extra cost to you….