Surprising fact: 68% of hosts say dessert visuals make guests remember an event most, so the visual plan matters as much as flavor.
This Website contains affiliate links. That means I may earn a small commission if you purchase through my links, at no extra cost to you.
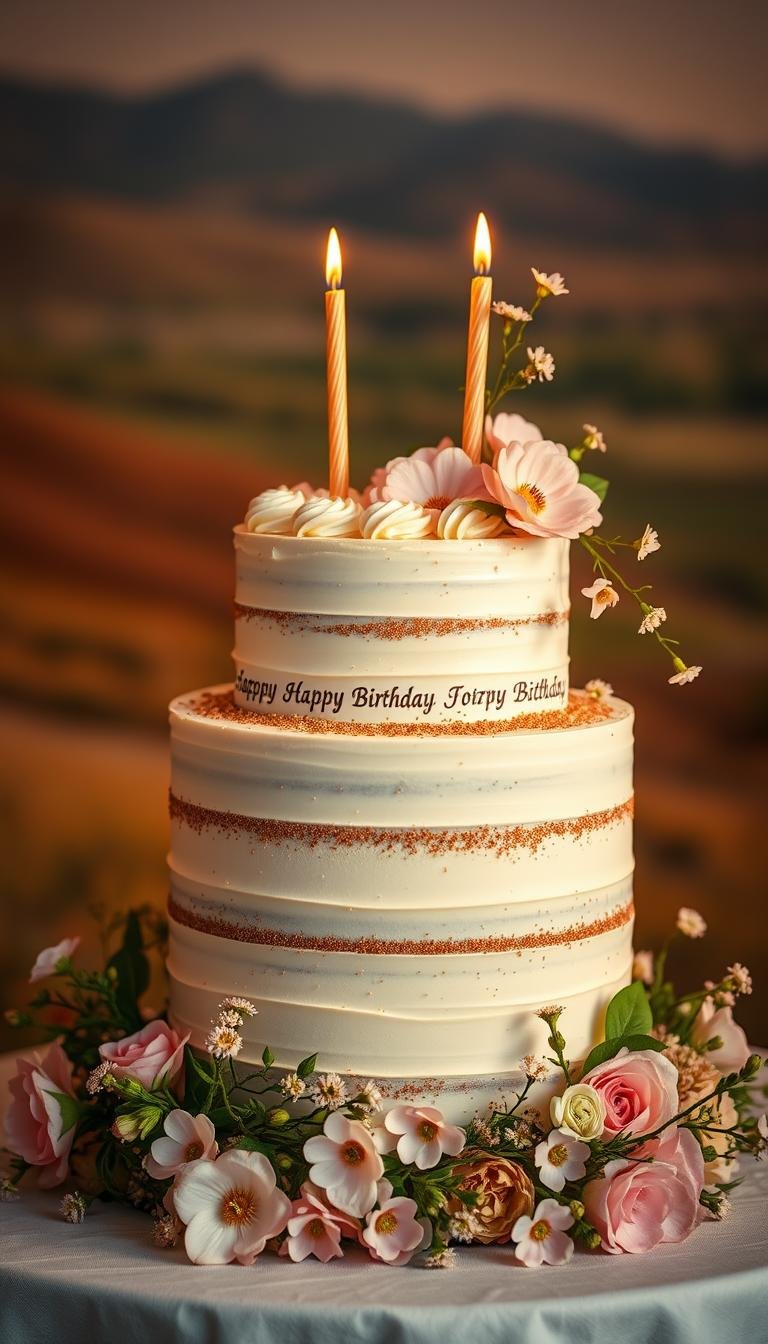
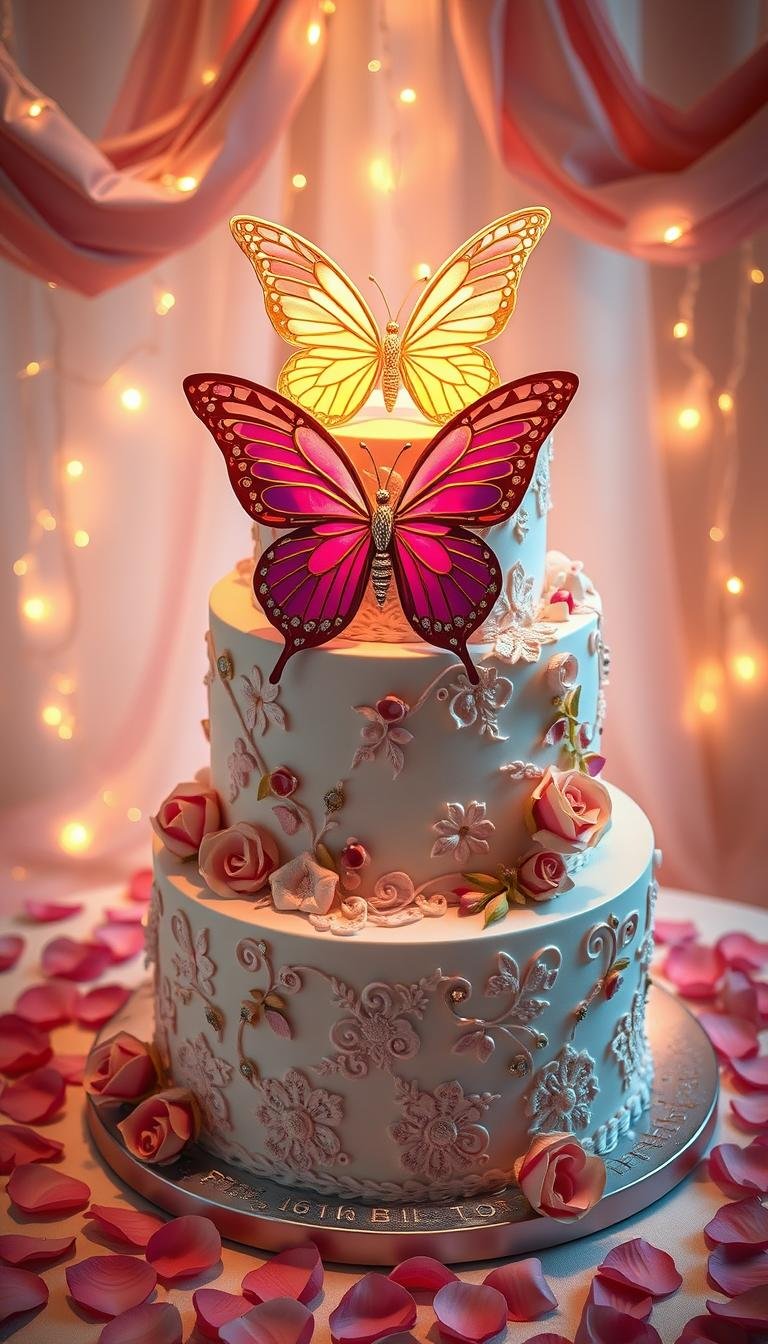
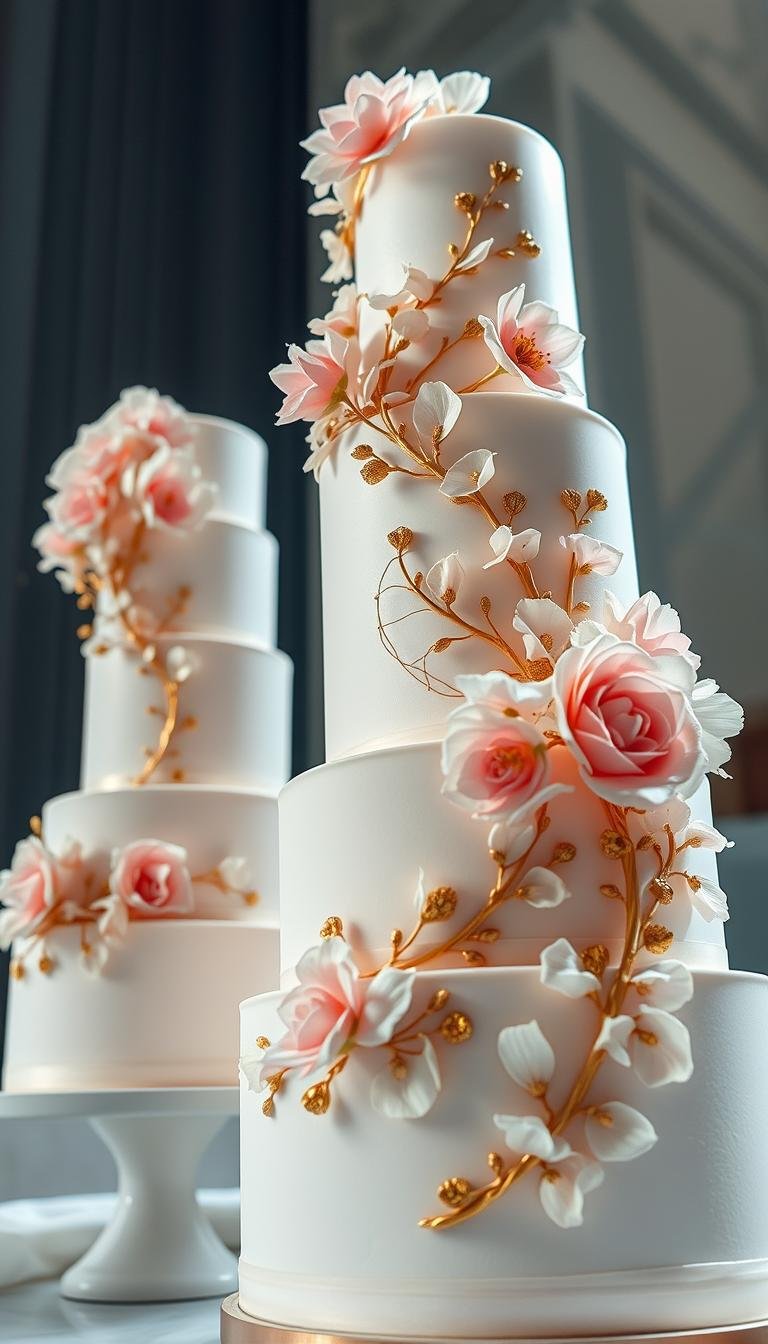
Start with a clear vision. Define the mood you want guests to feel—joyful, elegant, dreamy, or playful—so every element from color to texture works together. Sketch a focal point like a cascading floral cluster or a metallic band to anchor the look.
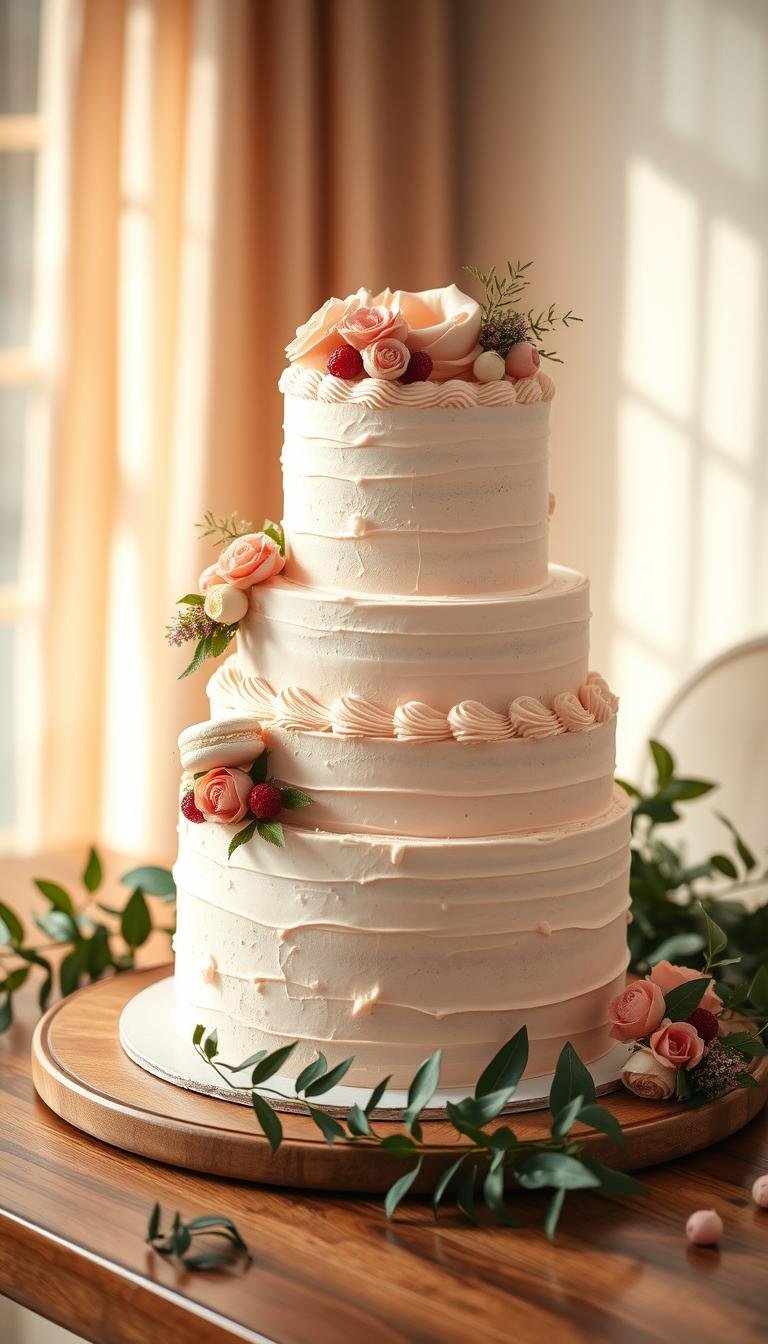
Choose size and shape that suit your guest count. A tall single-tier feels modern while a two-tier adds drama without crowding small tables. Pick a design direction early—minimalist, whimsical, or luxe—so your choices support one cohesive style.
Match flavor to story. Think lemon-elderflower for fresh spring vibes or chocolate-hazelnut for a moody, romantic feel. Plan logistics: chilled finishes hold edges, buttercream travels better, and simple palettes photograph best.
Key Takeaways
Define mood first to guide all visual choices.
Pick size and shape for guest count and theme.
Choose 2–3 hero hues and one accent color.
Match flavors to the visual story for harmony.
Plan transport, tools, and time—most intricate designs need two days.
Today’s birthday cake aesthetic trends to know right now
Right now, designers mix smooth surfaces with one bold accent to keep desserts modern and photogenic. These trends balance form and flavor so the final piece reads well in photos and on the dessert table.
Minimalist chic favors crisp edges, negative space, and a single focal detail like a slim ribbon or sugar bloom. It reads editorial and suits tall single-tier silhouettes.
Whimsical textures use palette-knife florals, ruffles, and buttercream waves to add movement without cluttering the surface.
Modern metallics: restrained gold leaf or a silver band paired with matte buttercream and pearls.
Soft gradients: blend 2–3 tones (blush to rose, sage to olive) for luminous photos.
Playful nostalgia: retro piping and shell borders updated with fresh palettes.
Trend
Look
Best Finish
Climate Note
Minimalist chic
Smooth, negative space
Chilled buttercream
Stable in AC
Whimsical textures
Ruffles & waves
Textured buttercream
Hold shape indoors
Modern metallics
Gold leaf accents
Matte finish + pearls
Apply on slightly chilled surface
Soft gradients
Watercolor washes
Airbrushed buttercream
Photogenic in daylight
Pick tones that match the venue lighting and limit bold elements to one area to keep looks timeless. For deeper how-tos and shopping lists, continue reading—see the next sections for tools and step-by-step guides on reading birthday cake ideas and continue reading birthday resources.
Color, style, and design frameworks for a cohesive cake aesthetic
Begin with a palette triad: a dominant hue, a supporting shade, and a neutral. This keeps visual choices simple and helps coordinate plates, candles, and florals for a unified look.
Picking a color story: complementary tones that match the party vibe
Use tones that echo the venue and time of day. Sunset palettes warm golden-hour shots while cool pastels suit bright midday events.
Pro tip: Assign roles—hero, support, neutral—so accessories match without competing.
Design balance: focal points, negative space, and visual rhythm
Establish a focal point like an asymmetrical floral sweep or a metallic corner. Then frame it with negative space to guide the eye and prevent clutter.
Sketch the design in thirds (top, middle, base). Assign each zone a job—detail, calm, detail—to keep rhythm and calm the overall look.
Texture + taste harmony: when flavors amplify the visual style
Match taste to style. Bright, zesty fillings pair with airy textures and watercolor finishes. Rich flavors fit sculpted edges and structured designs.
Contrast textures—smooth sides with a textured top or ruffles beside a sharp metallic band—to add depth without extra decorations.
Select a piping guide before you start: shell borders for charm, tight beads for modern, open rosettes for romance.
Write a micro-brief with 3–5 constraints (palette, finish, focal, garnish, lettering) to speed execution on bake day.
For varied palates, layer fillings that mirror the mood—berry compote with vanilla mousseline for a light, watercolor feel.
Framework
Visual Goal
Flavor Match
Palette Triad
Unified look across décor
Neutral bases, subtle flavor pairings
Thirds Sketch
Balanced interest + calm
Layered fillings to vary taste
Texture Contrast
Dimensional, photo-friendly
Zesty or rich to match texture
Next step: Keep reading birthday tips in the next section for actionable ideas and a simple plan to turn this style brief into finishing touches.
Actionable cake ideas to bring your vision to life
Start by turning your favorite references into a tight mood board that maps color and texture. Gather 2–3 reference photos, a swatch card, and a small sample of the texture you want to recreate.
From inspiration to sketch: translating ideas into a clear plan
Sketch simply. Mark a focal area, decorative zones, and where accents will sit. Keep the sketch to thirds: top, middle, base.
Set a realistic timeline. Bake and cool on day one. Fill, crumb coat, then chill overnight. Finish textures and details on day two for a calm build and longer shelf life.
Test pigments in small swatches before tinting large batches to lock color and tones.
Map textures to tools: palette-knife for painterly strokes, petal tips for ruffles, small round tips for micro-beads.
Pack a short checklist: turntable, bench scraper, offset spatulas, piping tips, edible leaf, and pearl sprinkles.
Step
What to do
Pro tip
Inspiration
Mood board + 3 refs
Limit to one focal detail for charm
Prep
Sketch + shopping list
Test pigments in small jars
Build
Bake, fill, crumb coat
Chill overnight for clean finishes
Finish
Textures, accents, transport
Chill 45–60 min before travel
Keep flavors aligned with the visual plan. A citrus-vanilla sponge with berry compote brightens watercolor tones. A mocha-hazelnut sponge supports deeper textures and richer finishes.
For step-by-step tutorials and party-specific tips, continue reading. If you want party adaptations, continue reading birthday sections and explore cake ideas11 birthday lists for fast inspiration.
Conclusion
A clear plan for color, texture, and structure turns a good design into a lasting memory.
Keep your palette tight, place a confident focal point, and leave space for negative zones so the result reads intentional from every angle.
Match taste to the look: light, bright taste suits airy watercolor tones; deeper, layered taste suits sculpted, high-contrast styles.
Use the timelines and practical ideas above to move from inspiration to sketch to final build with less stress. Before bake day, revisit trends and the framework to lock style and tones.
For more step-by-step help, continue reading the guides and reading birthday cake tips. Save your sketch after the event—those notes give new life to future cakes and designs.
FAQ
How do I pick a clear vision for my celebration dessert style?
Start by choosing the mood you want guests to feel—joyful, elegant, dreamy, or playful—then select 2–3 hero hues and one accent. That keeps every element, from texture to color, cohesive and easy to coordinate with decor and lighting.
What size and shape should I choose for the guest list?
Match size to headcount: a tall single-tier reads modern and feeds fewer people, while a two-tier adds drama and serves more guests. Also consider transport and venue space when deciding height and diameter.
Which finishes travel best and hold up in different climates?
Buttercream is forgiving for travel and texture; chilled buttercream holds sharper edges. Delicate sugar flowers and soft ganache need cooler, stable conditions. Always chill for 45–60 minutes before transport and place on a non-slip mat.
How can I create a polished color story that photographs well?
Use a dominant hue, one supporting shade, and a neutral. Blend 2–3 tones in the same family for gradients or watercolor effects. Test small swatches with gel or oil-based colors under your event lighting before tinting the full batch.
What tools should I have on bake day for a clean finish?
Essentials include a turntable, bench scraper, offset spatulas, palette knife, and a set of piping tips. Add edible metallic leaf and pearl sprinkles for accents. A short checklist saves time and prevents last-minute runs to the store.
How do I balance texture and flavor so the slice matches the look?
Pair airy, zesty flavors (lemon, elderflower) with soft, watercolor finishes; choose richer flavors (chocolate, coffee) for structured, sculpted designs. Consider layered fillings to offer variety while keeping the overall mood consistent.
What’s an easy timeline for executing an intricate design?
Plan two days: day one — bake and cool, fill, and crumb coat; chill overnight. Day two — final coat, texture work, and details. This reduces stress and improves stability for transport and display.
How do I keep trendy details from dating my dessert photos?
Limit bold elements to one area—like a metallic rim or a retro piped base—while keeping the rest minimal. That way you capture current trends without overwhelming the design or making images look dated later.
Can you suggest simple focal points that elevate a modest design?
Try a single cascade of edible pearls, a slim metallic band at the top edge, or an asymmetrical floral sweep. Small, well-placed accents create visual interest without cluttering the surface.
Where can I find quick theme ideas and lists for brainstorming?
Collect inspiration into a mood board with 2–3 reference desserts, a color swatch, and texture samples. For fast concept generation, check curated idea lists and planning resources—search terms like ideas aug, ideas11 birthday, and cake ideas11 can help spark direction in your planning doc.
Nearly 70% of hosts say the dessert stole the show —and a well-made cake can change the whole vibe of a party.This Website contains affiliate links. That means I may earn a small commission if you purchase through my links, at no extra cost to you. Find a curated collection that blends designer styles, number…
One in four parents say they change party plans at the last minute to match their teen’s newest interest — a neat reminder that a dessert can set the tone for the whole event.This Website contains affiliate links. That means I may earn a small commission if you purchase through my links, at no extra…
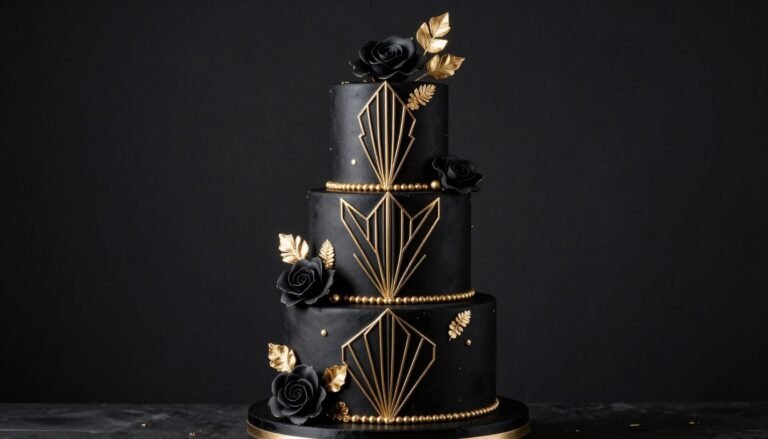
Black birthday cakes represent the pinnacle of sophistication and modern elegance. These stunning creations transform ordinary celebrations into extraordinary events.This Website contains affiliate links. That means I may earn a small commission if you purchase through my links, at no extra cost to you. The beauty of matte black fondant combined with metallic accents creates…
Did you know that searches for Sweet Sixteen party ideas spike by over 40% each spring? That shows how many families want a memorable centerpiece that truly wows guests.This Website contains affiliate links. That means I may earn a small commission if you purchase through my links, at no extra cost to you. Set the…
Your baby boy’s first birthday is a once-in-a-lifetime celebration. Every parent wants this special day to be perfect and memorable. The birthday cake becomes the centerpiece of your party photos and memories.This Website contains affiliate links. That means I may earn a small commission if you purchase through my links, at no extra cost to…
Surprising fact: neutral-toned desserts now top 40% of party orders, turning simple confections into memorable centerpieces for birthdays and milestones.This Website contains affiliate links. That means I may earn a small commission if you purchase through my links, at no extra cost to you. Clean, refined options are leading 2024 trends. Think white and beige…