Surprising fact: nearly 60% of hosts say a showstopping dessert makes guests remember the whole event longer than any single activity.
This Website contains affiliate links. That means I may earn a small commission if you purchase through my links, at no extra cost to you.
This intro helps you plan a memorable centerpiece that fits your vibe. Decide early if you want a tall, editorial cake or a coordinated dessert table that matches the rest of your party decoration.
Start prepping 2–4 weeks ahead. Gather reliable supplies like pans, turntables, and smoothers so the baking and decorating stages stay calm and creative.
Pick a color palette and one standout technique to control price and effort. A simple topper or a small edible print can make a big visual impact without extra fuss.
Key Takeaways
Choose centerpiece type early: single showstopper or dessert table.
Plan 2–4 weeks ahead and collect basic baking supplies.
Limit extras; prioritize one decorative technique for impact.
Use a topper or kit to personalize without added stress.
Keep the backdrop minimal so the treat stays the photo hero.
Fresh Ideas to Elevate Your 17th Birthday Cake
A few creative twists can turn a simple dessert into the party’s visual hero.
Chic minimalist drip: Stack sharp-edged tiers, add a thin metallic drip in edible gold or silver, and keep a neutral palette. Finish with a small scripted “17” so the look stays modern and streamlined.
Princess decorative glam: Use sugar pearls, a fondant crown topper, and quilted textures. Soft blush or lavender with shimmer dust gives a refined, royal feel without going overboard.
Pcs cars cartoon racer tiers: Build racer stripes, fondant tires, and a winding road. Stack pcs cars tiers in bright red, yellow, and black to create high-energy, photo-ready fun for gearhead teens.
More standout looks
Neon glow buttercream: Electric piping in pink, lime, and teal for nightlife vibes that pop under lights.
Black-and-gold reveal: A dark exterior hides a sprinkle-filled interior for a dramatic reveal moment.
Subtle halloween vibes: Matte black cocoa buttercream, wafer bats, and purple accents for moody elegance.
Photo collage topper: Edible snapshots wrapped or placed on top to showcase favorite moments at seventeen.
Modern pressed petals: Edible flowers pressed into pastel buttercream for a refined, organic finish.
Style
Key Elements
Color Palette
Best for
Minimalist Drip
Metallic drip, sharp edges, small script
White, nude, charcoal
Modern photo ops
Princess Decorative
Pearls, crown topper, quilted fondant
Blush, lavender, shimmer
Elegant, formal parties
Pcs Cars Cartoon
Racer tiers, tires, winding road
Red, yellow, black
Active, themed events
Reveal & Neon
Hidden sprinkles, neon piping
Black/gold; neon accents
Dramatic slices & nightlife
Quick tips: Chill layers before heavy toppers and use supports for tall builds. Follow decorative baking and treat decorating workflow—crumb coat, chill, final coat—to keep edges clean and colors crisp.
Flavors, Fillings, and Toppers Guests Love Right Now
Great desserts start with clear choices: pick three complementary flavors, a wow filling, and matching toppers to carry a theme across the table.
Flavor Combos
Crowd-pleasing trios: vanilla bean with strawberry compote, red velvet with whipped cream cheese, and cookies & cream with crushed sandwich cookies.
Balance sweetness with salt or citrus so every bite stays lively and not too heavy.
Fillings That Wow
Use a bright raspberry compote, tart lemon curd, or slow-cooked salted caramel for contrast.
Create a buttercream dam around the edge to prevent leaks and keep slices neat for service during a busy party.
Decorative Baking Tips for Smooth Buttercream and Sharp Edges
Weigh ingredients and use room-temperature dairy. Chill layers before stacking to get level tiers and clean cuts.
Apply a firm crumb coat, chill 20–30 minutes, then add a smooth final coat with a bench scraper while the turntable spins slowly.
Cake Topper and Cupcake Toppers to Match the Theme
Coordinate a main cake topper with matching cupcake toppers to extend the motif across treats. Mini acrylic numbers, edible prints, or fondant icons repeat the design without extra fuss.
Keep cupcakes consistent with the main design—mirror colors and finishes so the themed party feels cohesive.
Element
Best Options
Why it works
Flavor Combos
Vanilla/Strawberry, Red Velvet/Cream, Cookies & Cream
Familiar, photo-friendly, and easy to balance with salt or acid
Fillings
Raspberry compote, Lemon curd, Salted caramel
Bright or salty notes prevent cloying slices
Decorative Baking
Chill layers, crumb coat, bench scraper
Sharp edges and smooth buttercream for clean photos
Topper & Cupcake Toppers
Acrylic numbers, edible prints, mini fondant icons
Matches main design, stretches decoration across platters
Complete the Look: Party Decoration Kit, Balloons, and Themed Party Supplies
Set the scene with a coordinated party decoration kit so plates, backdrop, and dessert displays feel intentional without extra shopping. A single kit speeds setup and keeps colors consistent across the table.
Balloons Festive Birthday Sets with Includes Banner Options
Choose balloons bundles that match your palette and arrive ready to style.
Look for balloons festive birthday packs that include latex, foil, and a large number; many kits also include ribbon and tape strips.
Prioritize a decoration kit that clearly includes banner so you get a pre-strung or easy-to-assemble focal piece.
Compare price and reviews to confirm durability for arches and large balloons.
Coordinating Party Decoration: Toppers, Cupcake Displays, and Budget-Friendly Price Packs
Round out the dessert station with a compact stand, a matching cake topper, and cupcake toppers for balance.
Mix two themed party packs for variety, or scale down to a slim garland in small spaces. The right kit supplies keep setup simple and photos polished.
Conclusion
Lock your plan by choosing one signature decorative feature and support it with steady decorative baking steps. Pick a metallic drip, pressed petals, or a sprinkle reveal so every choice feels intentional.
Work backward from serving time and leave chill windows between crumb coat and final coat. Keep tools simple: a turntable, offset spatula, and smoother make baking and decorating calm and efficient.
Repurpose neutral items from a baby shower or seasonal stash to save money. Add a crisp topper and neat treat decorating details—borders, even textures, and clear color transitions—to finish like a pro.
Final checklist: flavors set, fillings ready, decorations packed, and serving tools in place. Enjoy the party moment.
FAQ
How far in advance should I plan and order supplies for a seventeenth celebration?
Start planning 2–4 weeks ahead. That gives you time to book a baker or gather pans, turntable, spatulas, toppers, and a party decoration kit. If you’re DIY-ing, buy specialty supplies like edible prints or fondant at least a week early to avoid shipping delays.
What size or tier configuration works best for a medium guest list?
Match servings to your guest count. A tall single-tier can make a big visual impact for casual gatherings, while two smaller tiers offer a luxe look without overwhelming a home party. Use standard serving charts or ask your baker to recommend the best height and tiers.
How can I create a cohesive look between the dessert and room decor?
Nail down a color palette early—pastels, neon, or black-and-gold—then coordinate buttercream shades, sprinkles, a cake topper, and a matching party decoration kit. Use balloons, a simple banner, and cupcake toppers to echo the cake’s theme for polished photos.
Which flavors and fillings are most crowd-pleasing right now?
Popular combos include vanilla bean with strawberry compote, red velvet with whipped cream cheese, and cookies & cream. For fillings, consider raspberry compote, lemon curd, or salted caramel to balance sweetness and add texture.
What tips help me get smooth buttercream and sharp edges?
Weigh ingredients, chill layers, apply a firm crumb coat and chill 20–30 minutes, then add the final coat while using a bench scraper on a spinning turntable. A chilled cake and steady hand produce clean lines and sharp edges.
Can I mix homemade layers with store-bought toppers or kits?
Yes. Combine homemade cake layers with a purchased topper, banner, or treat decorating kit for time savings. Keep finishes clean by chilling layers, leveling cakes, and attaching toppers with food-safe dowels or tape.
How do I handle dietary restrictions for guests?
Offer one or two alternative treats—gluten-free, nut-free, or dairy-light—so all guests feel included. Label alternatives clearly on the dessert table and, if possible, make a small separate cake or cupcakes to avoid cross-contact.
What supplies should be in a good party decoration kit?
A useful kit includes a banner (includes banner), latex and foil balloons, ribbon, tape strips, disposable plates, napkins, and cupcake toppers. Check that the kit matches your palette and includes durable adhesives and a price-friendly set of basics.
How do I create a memorable reveal like a sprinkle or reveal cake?
Build a dam of buttercream around the top of your cake, fill the center with hidden sprinkles, and finish the exterior in a dramatic finish like black-and-gold. Chill thoroughly so the sprinkles stay contained until the first slice.
Any advice for transporting a decorated cake safely to the venue?
Chill the cake until firm, use a sturdy cake board and box, add dowels for tall tiers, and transport on a flat surface in the car. Keep the cake cool and avoid sudden stops; bring a small repair kit with extra frosting and an offset spatula for touch-ups.
How can I tie a cars cartoon theme into both cake and party supplies?
Use racer stripes, fondant tires, and a checkered flag on the cake, plus pcs cars cupcake toppers and a themed balloon set. Coordinate colors—bright red, yellow, and black—and frame the cake with a matching banner and display stand for cohesive impact.
Are neon or glow designs hard to photograph?
Neon buttercream can photograph well if balanced with neutral backdrops and proper lighting. Use coordinated balloons and a simple banner to avoid visual clutter; take test shots in daylight and under party lights to confirm the glow effect.
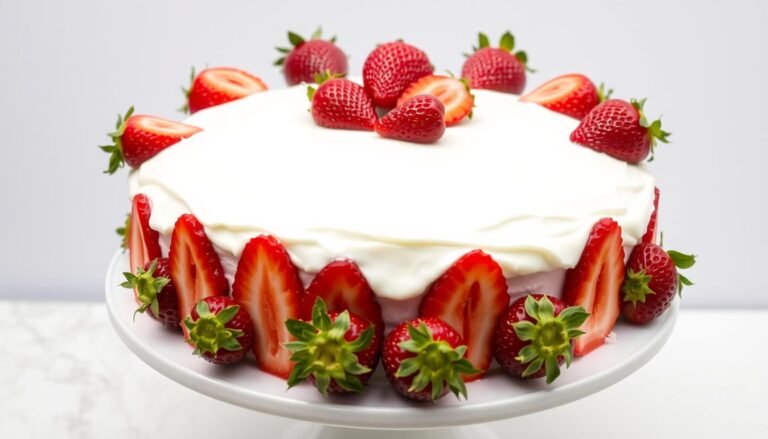
There’s something irresistibly charming about a beautifully designed strawberry cake. The vibrant red berries against creamy frosting create a visual feast that’s as delightful to look at as it is to eat. Whether you’re planning a birthday celebration, wedding, or simply want to elevate your weekend baking, the perfect strawberry cake design can transform a…
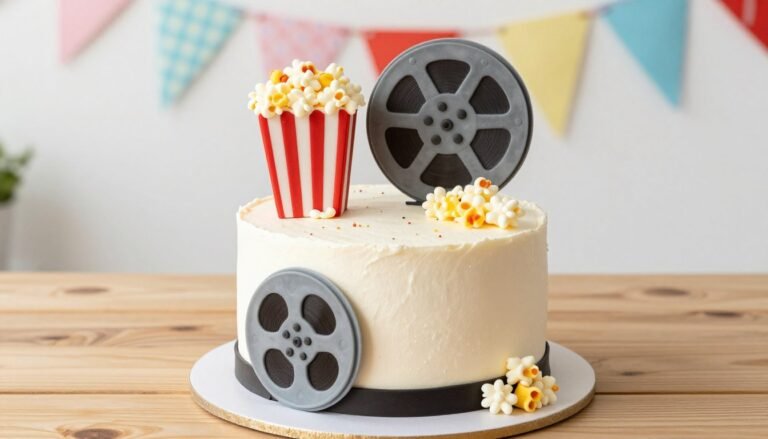
Looking for fun and creative birthday cake ideas? You’re in the right place! From classic designs to trendy themes, there’s something here for every celebration. Let’s jump right into a variety of delicious and eye-catching options to make that special day even sweeter!This Website contains affiliate links. That means I may earn a small commission…
A birthday cake is more than just dessert—it’s the centerpiece of every celebration, a sweet symbol of another year well-lived. The moment when the lights dim and the cake appears, candles glowing, is pure magic. But why settle for ordinary when you can create something extraordinary? From whimsical designs that capture a child’s imagination to…
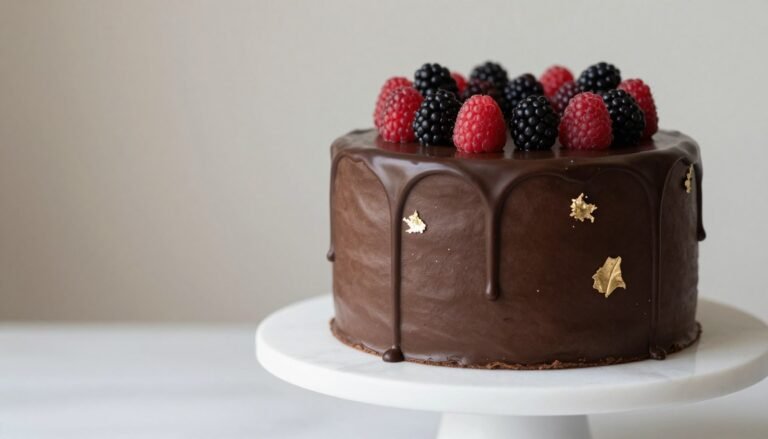
There’s something magical about a beautifully decorated chocolate cake. Whether you’re planning a birthday celebration, wedding, or simply want to elevate your weekend baking, the right chocolate cake design can transform a simple dessert into an unforgettable centerpiece. From elegant drip techniques to whimsical themed creations, we’ve gathered stunning chocolate cake designs that will inspire…
Surprising fact: 68% of hosts say dessert visuals make guests remember an event most, so the visual plan matters as much as flavor.This Website contains affiliate links. That means I may earn a small commission if you purchase through my links, at no extra cost to you. Start with a clear vision. Define the mood…
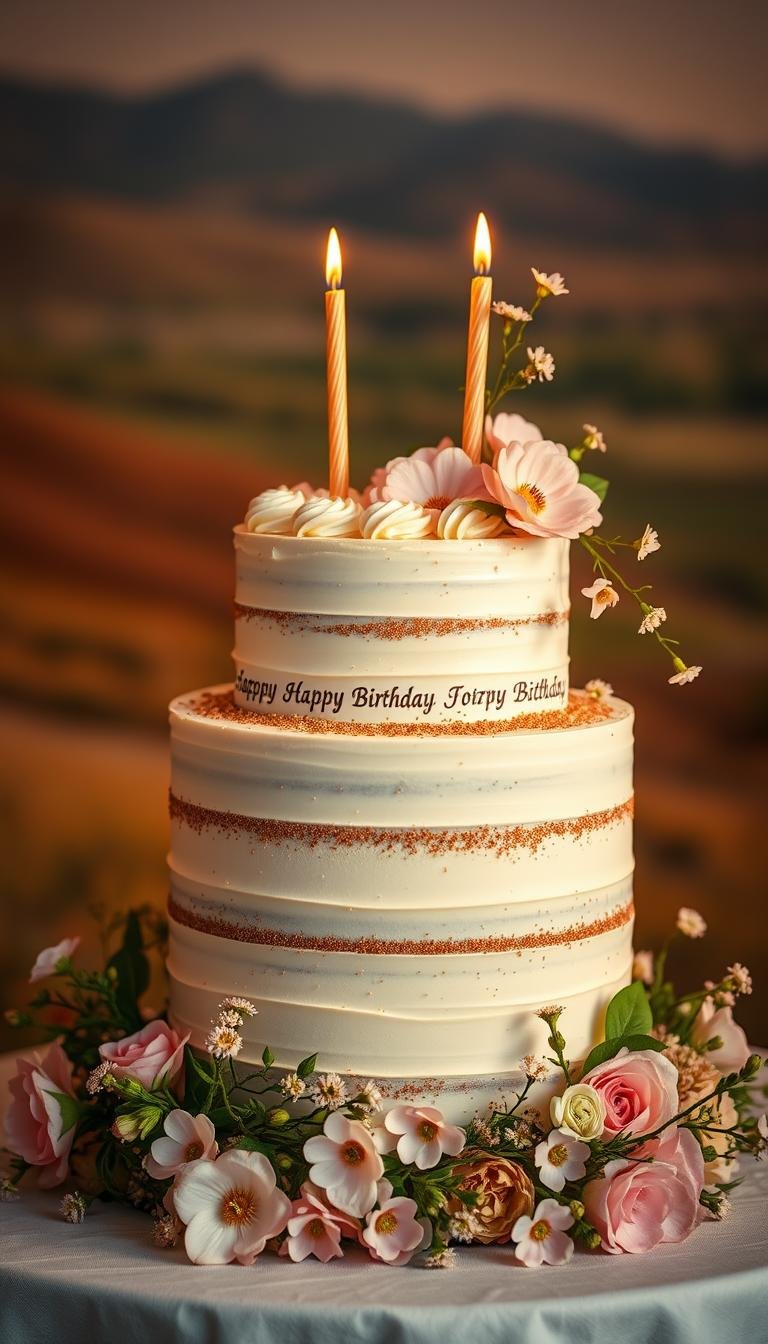
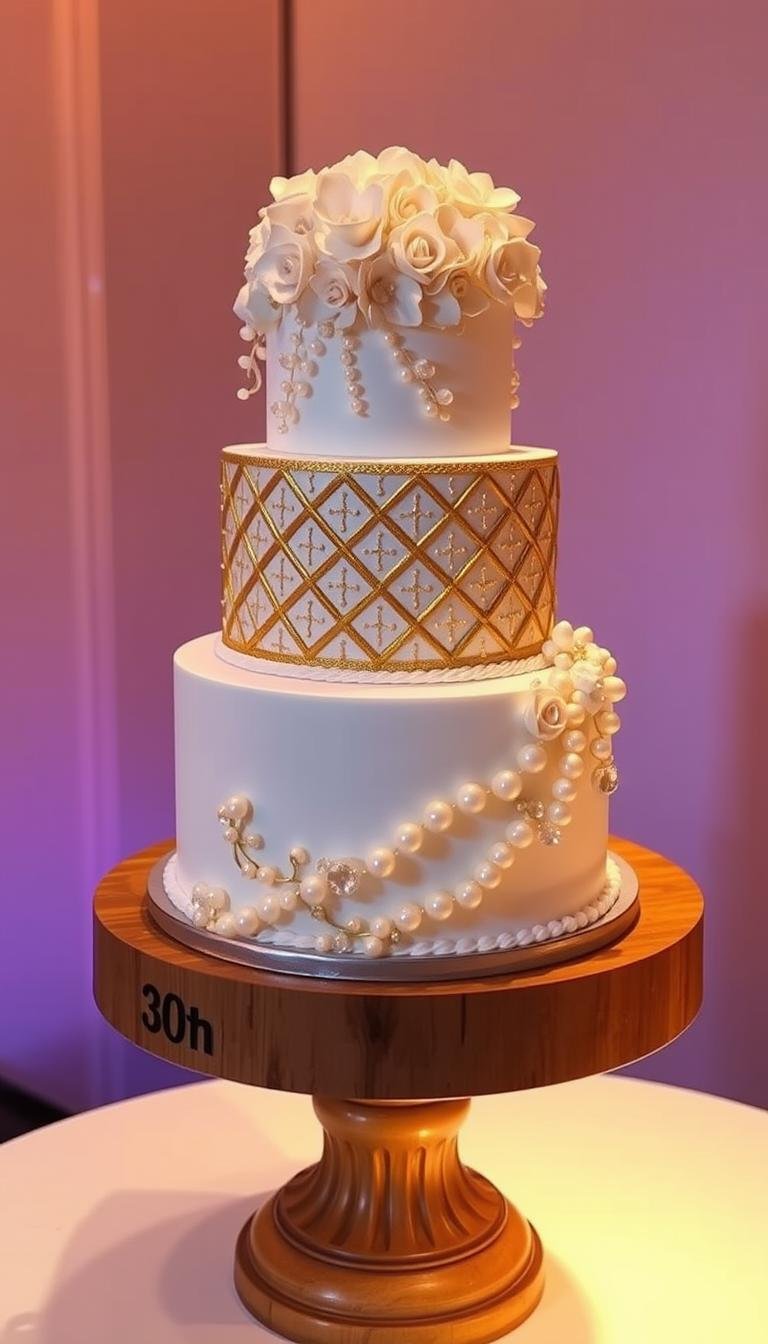
Surprising fact: nearly half of adults say turning 30 feels like a major life reset, and many mark it with a standout dessert that sets the tone for the whole party.This Website contains affiliate links. That means I may earn a small commission if you purchase through my links, at no extra cost to you….