Surprising fact: nearly 60% of hosts say a clear theme makes a gathering more memorable — and a spooky spread does the heavy lifting.
This Website contains affiliate links. That means I may earn a small commission if you purchase through my links, at no extra cost to you.
Set the tone with playful gore and easy recipes that look dramatic but are simple to make. This guide covers a balanced mix of savory and sweet, on-theme drinks, and dramatic presentation so every bite feels like part of the scene.
Expect crowd-pleasing recipes like brain cupcakes, eyeball deviled eggs, and a safe dry-ice witches’ brew. I’ll show make-ahead tricks, store-bought shortcuts, and budget swaps that keep the table bold without stress.
Visual payoff matters: brain bowls, skull platters, bloody tablecloths, and red/green lighting turn snacks into theater. Kid-friendly options are marked, so you can tone down the gore while keeping grown-ups thrilled.
Key Takeaways
Theme early: visuals set mood and ease planning.
Mix savory and sweet for a balanced spread.
Use make-ahead steps and store shortcuts to save time.
Simple plating boosts dramatic effect without extra cost.
Pick kid-friendly versions to keep the event family-safe.
Quick-hit zombie party food ideas to kick off your spread
Start the table strong with fast, themed bites that wow with little effort. Use bone-shaped breadsticks with warm marinara “blood” and pre-sliced hot dog fingers finished with ketchup just before guests arrive.
For easy zombie wins, assemble chocolate pudding “worms-in-dirt” cups. Top pudding with crushed cookies and gummy worms for a creepy graveyard that kids adore.
Lean on store-bought bases like frozen pizza bites or cupcakes and add simple touches—candy eyes, red gel, or spaghetti “guts” tucked into buns—for dramatic effect without extra cooking.
“Prep garnishes and a small refill kit so you can refresh the table while staying with guests.”
Quick Fix
Prep Time
Kid Friendly
Vegetarian Option
Breadstick bones + marinara
5–10 min
Yes
Yes
Hot dog fingers
10 min
Yes
No
Worms-in-dirt pudding
5 min
Yes
Yes (use dairy-free pudding)
Tip: Offer a mix of savory and sweet and stage bowls of garnishes so you can finish trays quickly. Bite-sized portions and skewers keep guests moving and the mood lively.
Brains on the menu: creepy-cool brain treats and recipes
Turn ordinary cupcakes and cookies into creepy brain bites with a few piping tricks and a splash of red gel. These treats balance easy assembly with a high visual payoff.
Zombie Brain Cupcakes
Use a small round piping tip to pipe a center cleft line, then add wavy, snake-like ribbons on each side to mimic brain folds. Tint buttercream pink or gray, pipe the pattern, and finish with a drip of red gel for a dramatic, glossy “blood” effect.
Gelatin and Rice Krispies Brains
Make a no-bake brain Jello in a mold or bundt pan; glaze with strawberry or raspberry sauce for shine. For chewy bites, press Rice Krispies marshmallow mix into a brain mold, tint lightly pink, and draw fine icing lines to define folds.
Sweet OREO and Savory RITZ Brains
For OREO “brains,” pipe chilled strawberry cream cheese onto cookies in the brain pattern and add gel icing accents. For a savory counterpoint, swirl smoked salmon cream cheese on RITZ crackers and dot with sriracha—small, grown-up bites that balance the platter.
“Pipe a center cleft and snake-like swirls on both sides for instant visual impact.”
Make-ahead tip: Pipe brain details a few hours early, refrigerate, and add hot sauce or gel just before serving to avoid smears.
Arrange minis on a glossy black tray or inside a brain-shaped bowl and mix sizes so guests can sample several treats.
All eyes on you: eyeball snacks that stare back
Make a centerpiece that watches back—eyeball treats are simple, spooky, and showstopping. These bites use common ingredients and a few edible gels to make items look like real body parts without being too gross for family guests.
Eyeball deviled eggs with olive pupils and gel veins
Turn classic deviled eggs into eyes by nesting a sliced olive as the pupil. Add thin, branch-like red veins with food gel to make them look like they’re watching the table.
Meatball or cake pop eyeballs
Top warm meatballs or cake pops with a small mozzarella pearl, olive slice, or candy eye. Finish with edible gel dots to create lifelike irises.
Mozzarella, Oreo, and stuffed mushroom eyeballs
Use mini mozzarella balls dotted with olive centers and a brush of oil for a cheesy bite. Stuff mushrooms with herbed cheese, press in an olive, and stripe with gel for savory impact.
Arrange on dark platters in concentric rings to amplify the stare.
Serve dips like pesto or spicy marinara in bowls labeled “optical fluid.”
Make-ahead: prep fillings, slice olives, and pre-bake meatballs for quick assembly.
“A mix of warm and chilled recipes keeps guests happy and curious.”
Eyeball Type
Prep Time
Serve Warm?
Kid Friendly
Deviled egg eyeballs
15 min
No
Yes
Meatball eyeballs
25 min (pre-bake)
Yes
No (spicy options available)
Oreo zombie eyeballs
10 min
No
Yes
Fingers and body parts: spooky hand-helds for a Halloween party
Small, spooky handhelds keep guests nibbling and the vibe delightfully eerie. These bites are fast to make and score big on presentation.
Severed finger fixes
Cheesy breadstick bones: bake breadsticks with shredded cheese pockets and serve with warm marinara “blood” sauce.
Hot dog fingers: score knuckle lines, add sliced almond nails to sausages or baby carrots for a vegetarian twist, and nestle in a ketchup pool.
Hand-shaped meatloaf
Form meatloaf into a hand, press onion-ring nails in place, then glaze with ketchup or barbecue before baking. Bake on a sheet pan for crisp edges; tent with foil if the top browns too fast.
Sweets board and coffin brownies
Arrange gummy and chocolate body parts over crushed cookie “dirt.” For coffin brownies, cut rectangles into coffin shapes and pipe chocolate crosses.
“Prep scored fingers and meatloaf the day before to cut day-of stress.”
Item
Prep Time
Vegetarian Option
Cheesy breadstick bones
15 min
Yes (use dairy-free cheese)
Hot dog / carrot fingers
10 min
Carrot fingers with almond nails
Zombie hand meatloaf
45–60 min
Use meatless loaf base
Storage tip: keep sauces warm in small crocks and refill as trays empty for a fresh display. Add a playful sign like “Freshly Severed” for humor without going overboard.
Worms, guts, and dirt: fun zombie food ideas kids love
Make a spooky station where little chefs build their own creepy cups and messy buns. These two hits are simple, silly, and scale easily for a crowd.
Worms-in-dirt pudding cups are a classic. Spoon chocolate into clear cups, sprinkle crushed cookies on top, and tuck in gummy worms so they peek out like they’re wriggling from soil.
Small touches—bone candies, cookie headstones, or a dusting of orange zest—turn each cup into a mini graveyard that delights both kids and adults.
Guts in Buns is just saucy spaghetti piled into split hot dog rolls. Slice smaller for appetizers and label them for a gross-out laugh.
Pair creamy pudding cups with chewy gummy worms and saucy noodles for texture balance.
Portion pudding and crush cookies a day ahead; add gummy worms right before serving.
Set a self-serve station with labeled bins so guests can customize their cups.
“Keep extra gummy worms nearby—those always disappear fast.”
Item
Prep Time
Make-ahead
Kid Friendly
Worms-in-dirt pudding cups
10 min assembly
Yes (pudding & crumbs)
Yes
Guts in Buns (spaghetti)
15–20 min
Yes (cook noodles & sauce)
Yes (slice small)
Custom toppings station
5–10 min set up
No (refill as needed)
Yes
Pro tip: Offer napkins and lined trays to keep sticky hands from slowing the fun. Both recipes are budget-friendly and perfect for a first-time halloween host.
zombie snacks food party ideas for easy, budget-friendly hosting
Keep costs low and thrills high with a dessert centerpiece that assembles in minutes. Use ready-to-serve chocolate pudding cups for instant structure and dramatic effect.
Zombie pudding cups with SOUR PATCH “zombies” and RIP graham headstones
Layer chocolate pudding, then sprinkle a cookies top crumble. Press a Honey Maid graham cracker marked “RIP” with black icing into each cup. Add two SOUR PATCH KIDS Big Kids gummies—paint simple X eyes and an oval mouth with black icing to bring them to life.
Pro tip: pre-crush cookies in a sealed bag and set an assembly line. You can finish a dozen pudding cups in minutes.
Pizza bites cut into zombie shapes and mac ‘n’ cheese labeled “maggots”
Use cookie cutters to shape frozen pizza bites into spooky silhouettes. Bake a sheet pan of mac and cheese and add a cheeky label like “maggots” for laughs. Both are low-cost mains that fill plates fast.
Pick Your Brains: offer sweet OREO brains (strawberry cream cheese + red gel) and savory RITZ brains (smoked salmon cream cheese + hot sauce) on a shared tray.
Shop once for pudding cups, cookies, gummies, and crackers to cover dessert and decor in one trip.
For transport, add crackers and gummies just before serving so cups stay neat.
“Group cups on a dark tray, scatter crumbs for a graveyard vignette, and watch kids and grown-ups line up.”
Drinks, decor, and serving tips that amp up the undead effect
Turn your beverage table into a showpiece with glowing dispensers and creepy garnishes. A simple drink station can create a strong visual effect and pull the whole theme together.
Zombie Punch and neon-green potion with floating eyeballs
Mix citrus juices, soda, and a splash of food coloring for a bright punch. Float gummy eyeballs or gummy worms for instant drama.
Pro tip: chill dispensers so garnishes stay afloat and visible.
Witches’ brew, dry ice theater, and zombie shots
Use dry ice for fog—handle with care. Always use tongs and gloves, keep pellets in a punch-safe cage, and never let dry ice touch a guest or a glass directly.
Offer small zombie shots for quick sips and label each drink with cheeky names to spark conversation.
Table dressing, lighting, and simple serving tricks
Dress tables with washable “blood” streaks on clear dispensers by chilling red-tinted corn syrup inside the walls. Scatter fake bones, use brain bowls and skull platters, and run a strand of red LEDs under the rim for a glowing effect.
“Dim overheads, add LED candles, and let backlit platters do the spooky work.”
Offer a trio of drinks: citrus punch, neon-green potion, and foggy witches’ brew.
Set a garnish bar with citrus wheels, cherries, and a dash of hot sauce for bold sippers.
Serve with wide ladles and small tasting cups so garnishes remain visible and guests can sample safely.
Conclusion
Finish strong by picking three crowd-pleasing treats, two drinks, and one bold prop to anchor the table.
Choose the top hits: OREO brains with strawberry cream cheese and red gel, savory RITZ brains with smoked salmon and hot sauce, and ready-to-serve chocolate pudding cups topped with crushed OREO, SOUR PATCH, and mini “RIP” graham crackers.
Round the menu with eyeball deviled eggs, meatball and stuffed mushroom eyes, breadstick bones with marinara “blood,” worms-in-dirt cups with gummy worms, and spaghetti “guts” in buns.
Prep smart: assemble no-bake cups first, warm mains next, and add final red gel and gel icing details just before guests arrive. Pick three food options, two eerie drinks, and one brain bowl or skull platter—and you’re set for a memorable zombie party.
FAQ
How can I make brain-shaped cupcakes look realistic?
Use a dome cupcake or gently carve a rounded top, then pipe pink or gray buttercream in concentric squiggles to mimic gyri. Add a little red gel or berry sauce for “blood” accents and place on a plate lined with crushed chocolate cookies for a dirt effect.
What’s an easy eyeball snack kids will love?
Deviled eggs with a sliced olive center make quick, spooky eyeballs. Draw thin red lines with food gel for veins. For a sweet option, use cake pops dipped in white chocolate and top with a candy eyeball or an M&M to create the pupil.
Any tips for making finger-shaped treats safe and tasty?
Press an almond or sliced almond at one end of a hot dog or breadstick to form a nail, score knuckle lines with a knife, and bake until golden. Serve with marinara or ketchup “blood.” For kids, use turkey frankfurters or vegetarian sausages to suit dietary needs.
How do I assemble pudding cups with gummy worms without them getting soggy?
Layer chocolate pudding over crushed chocolate sandwich cookies and chill until set. Add gummy worms just before serving so they retain texture. Keep cups refrigerated and assemble no more than a few hours ahead.
What’s a budget-friendly way to create a spooky spread?
Repurpose pantry staples: use instant pudding for brain molds, make cheese sticks into finger snacks, and slice pizza or quesadillas into creepy shapes. Decorate with inexpensive red gel, gummy candy, and themed labels to sell the effect.
Can I make savory “guts” for a main dish that’s still kid-friendly?
Yes. Cook spaghetti, toss in a tomato-based sauce, and serve in hollowed bread bowls or hot dog rolls as “intestines.” Offer grated Parmesan and chopped herbs on the side to keep flavors familiar for children.
What drinks add to the spooky atmosphere without using dry ice?
Make a green punch from lemon-lime soda, green apple juice, and lime sherbet. Float gummy eyeballs or peeled grapes for creepy additions. For an adult option, stir in a splash of vodka or rum.
How can I safely use dry ice if I choose to include it?
Never handle dry ice with bare hands—use thick gloves or tongs. Keep it in a well-ventilated area away from children and pets, and place chunks in a separate container so guests don’t touch the liquid. Follow package instructions and local safety guidelines.
What tools and molds work best for brain and body-part shapes?
Flexible silicone molds for brains and mini loaf pans for hands give great detail. Use piping bags with round tips for fine icing work. For small parts, candy molds and cookie cutters deliver consistent shapes every time.
How far in advance can I prepare themed desserts?
Bake base items like cupcakes or cookies up to two days ahead and store airtight. Assemble decorated elements—icing details, gel “blood,” and gummy toppers—on the day of the event to preserve texture and visual impact.
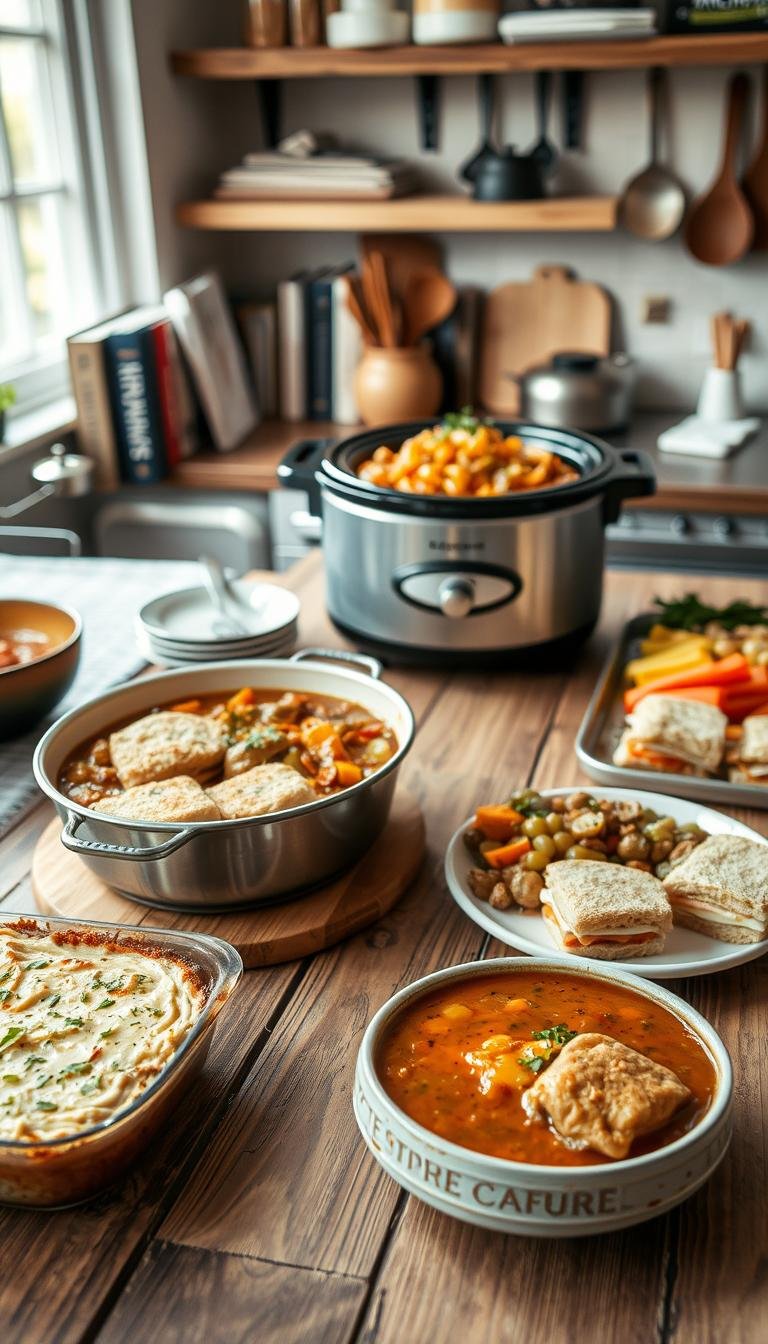
Surprising fact: some one-dish shortcuts assemble in under five minutes yet feed a hungry crowd.This Website contains affiliate links. That means I may earn a small commission if you purchase through my links, at no extra cost to you. This guide brings practical, time-saving dinner ideas that get food on the table fast and cut…
Summer is here, and it’s time to enjoy refreshing non-alcoholic drinks that keep you cool without the buzz! From vibrant juices to flavorful mocktails, there’s a whole world of tasty options to sip on while soaking up the sun. Let’s explore some delicious drink ideas that will brighten your hot days and keep you hydrated!This…
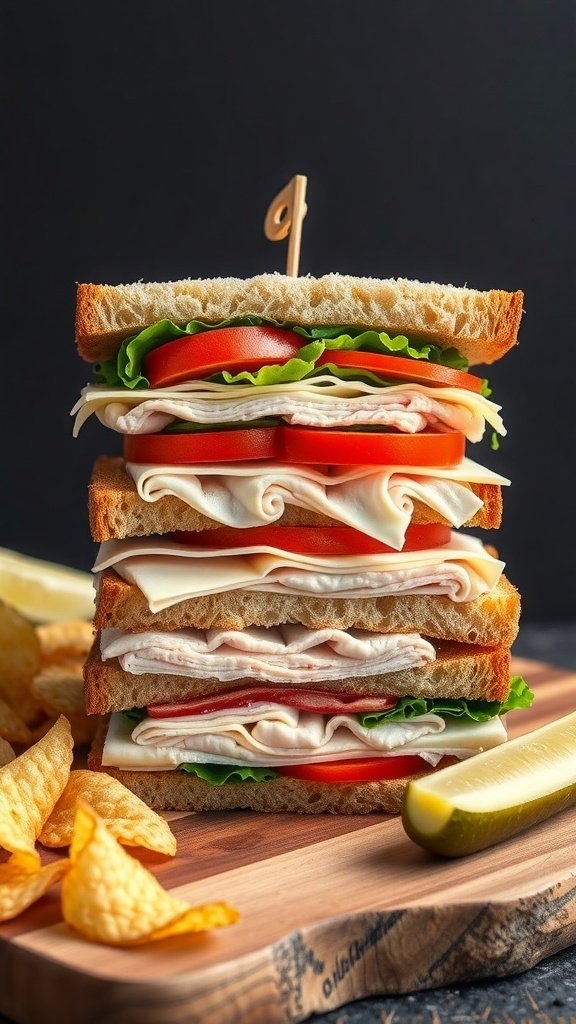
Summer lunches should be light, fun, and easy to whip up! Think fresh ingredients that keep you cool while satisfying your hunger. From quick salads to no-cook wraps, these ideas will help you make the most of your sunny days without spending too much time in the kitchen.This Website contains affiliate links. That means I…
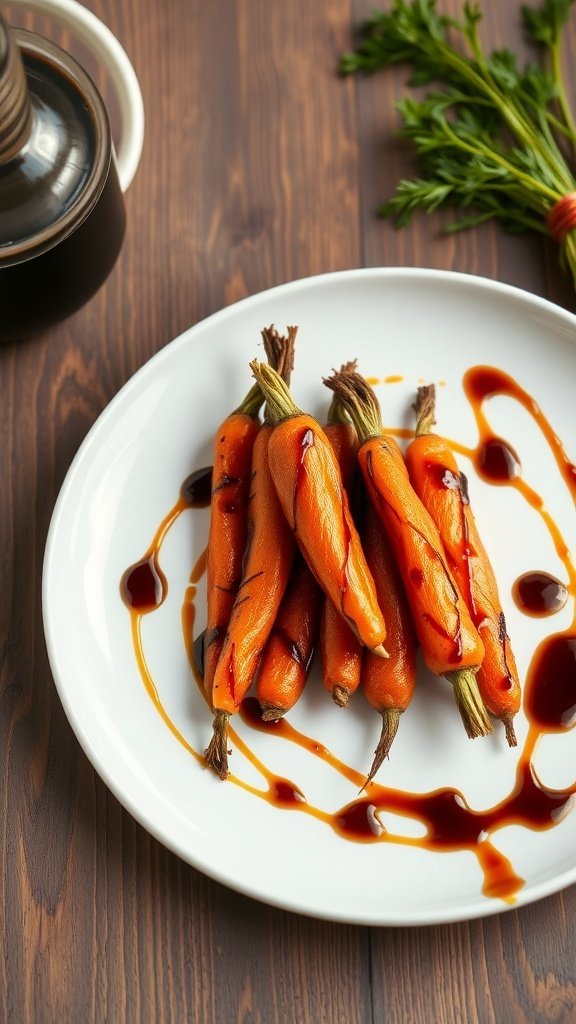
Candied carrots are a delightful twist on a classic vegetable dish that brings a burst of sweetness to your plate. Perfect as a side for any meal, these tender carrots are coated in a sugary glaze that enhances their natural flavor, making them a hit with both kids and adults alike. Whether you’re hosting a…
Surprising fact: nearly 70% of parents say they rely on 30-minute roundups to get food on the table on busy nights.This Website contains affiliate links. That means I may earn a small commission if you purchase through my links, at no extra cost to you. This guide promises fast, flexible options you can make when…
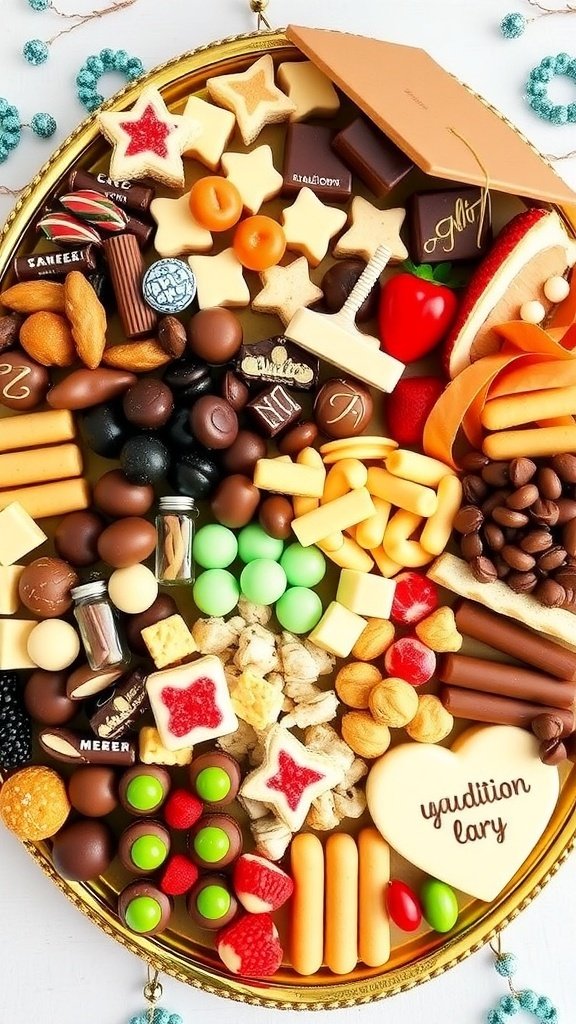
Graduation charcuterie boards are the perfect way to celebrate this milestone with friends and family. Packed with a mix of delicious snacks, cheeses, and fruits, these boards make for a fun and shareable centerpiece at any graduation party. Get creative with toppings and personalize them to match the grad’s favorites for a truly memorable treat!This…