Elevate Your Birthday with a Cake Aesthetic
Surprising fact: 68% of guests say the dessert reveal shapes their memory of a celebration more than the venue.
This Website contains affiliate links. That means I may earn a small commission if you purchase through my links, at no extra cost to you.
This guide shows how a thoughtful birthday cake aesthetic lifts the whole event from first glance to the last slice. A well-planned centerpiece sets mood, invites photos, and makes the host feel confident.
We’ll walk you through current U.S. trends, simple rules for proportion and texture, and affordable ways to make the dessert the visual star. Expect tips on color harmony, toppers, and finishes that mix flavor with design.
Planning matters: lock your baker early, build a mood board, and confirm portions so the dessert fits your guest list and theme. Keep an edit mindset: one hero idea, one texture, one accent.
If you’re reading birthday advice and want clear direction, continue reading for practical ideas and friendly style tips you can use today.
Key Takeaways
- Design the centerpiece to set the party mood and photo ops.
- Pick one hero idea, one texture, and one accent to avoid clutter.
- Confirm baker, portions, and dietary needs early.
- Use color harmony and simple toppers for a polished finish.
- Small edits yield big visual impact with minimal cost.
What’s Trending Now in Cake Aesthetic for Birthdays
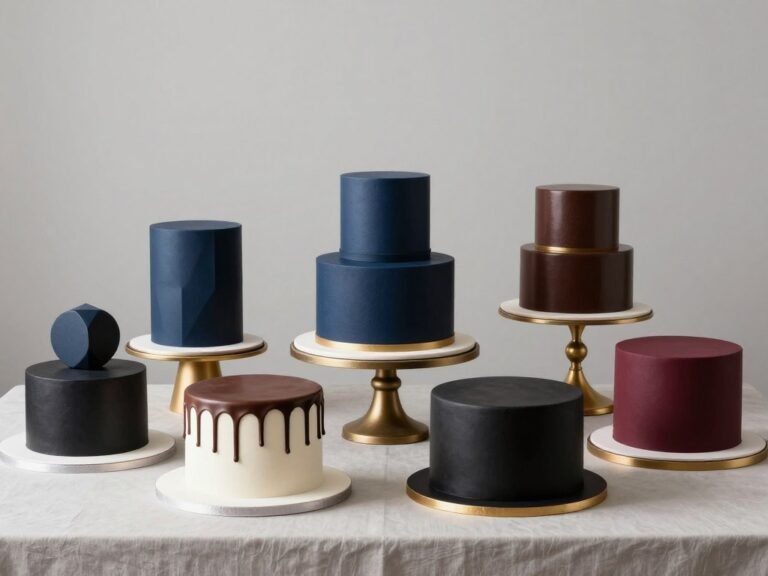
Right now, visual trends pair quiet surfaces with one standout flourish for maximum impact. Designers split between soft, minimal finishes and bold, playful decorations. That balance helps you pick a look that suits the venue and guest vibe.
Modern styles: from minimalist charm to maximalist sparkle
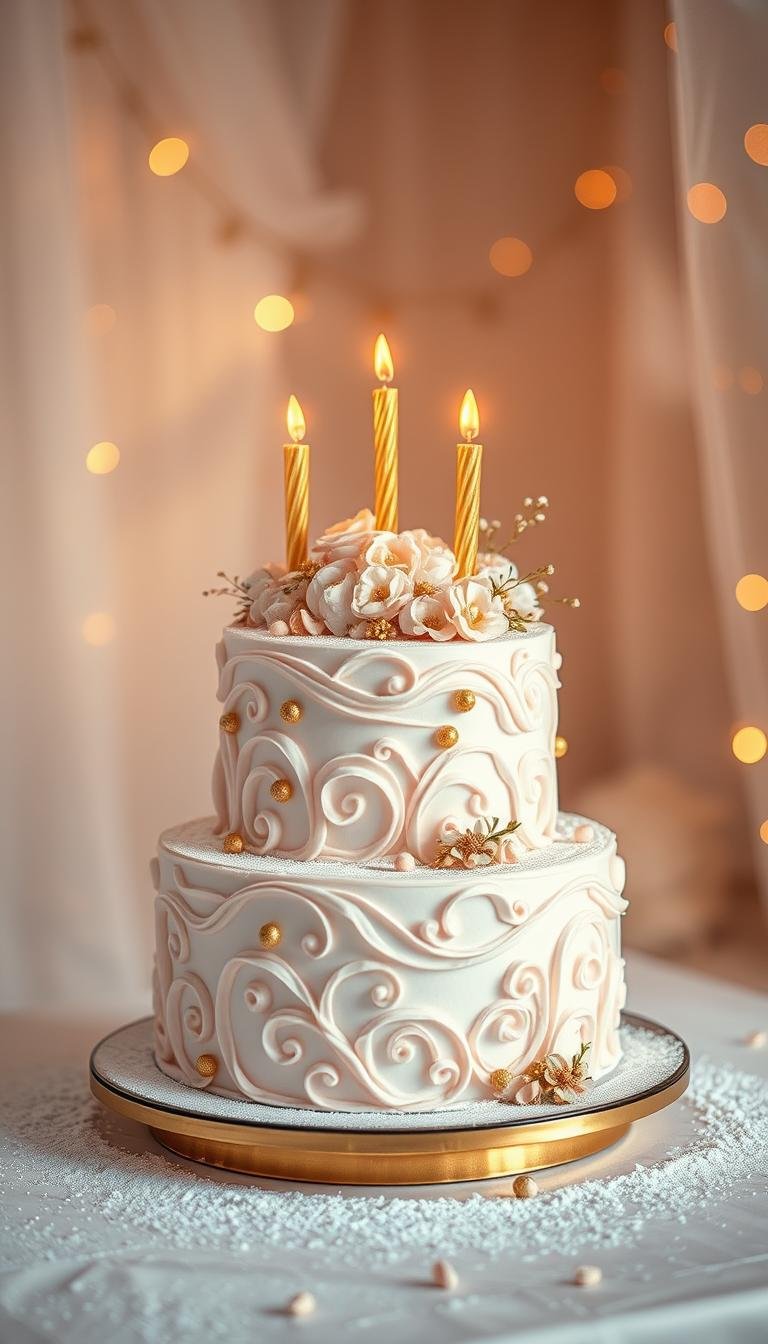
Minimal looks lead with smooth buttercream, razor edges, and subtle palette-knife texture for calm charm.
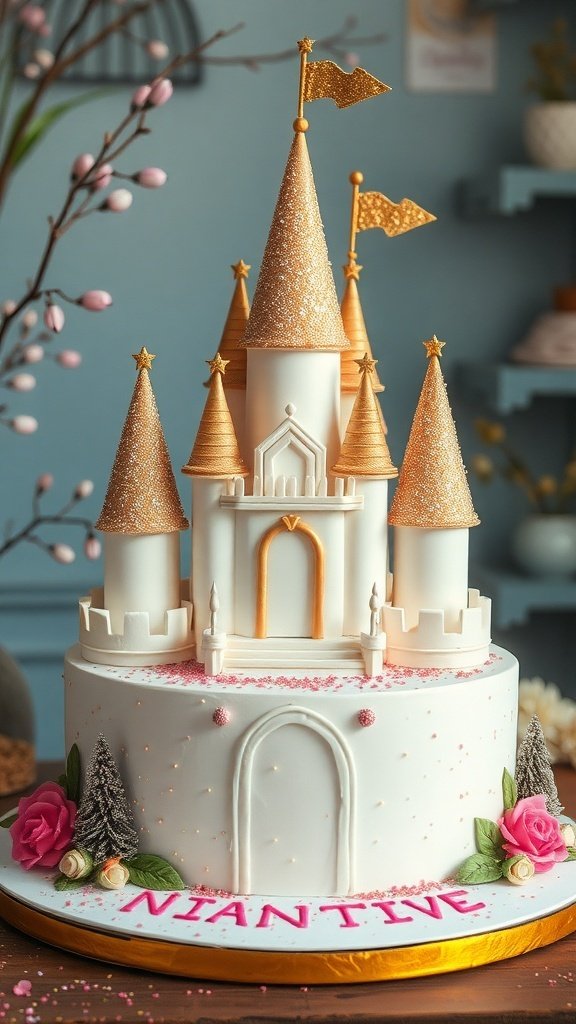
On the flip side, maximalist sparkle uses metallic leaf, sprinkle bands, and wafer-paper ruffles for a high-energy focal point.
Color stories and tones that set the mood
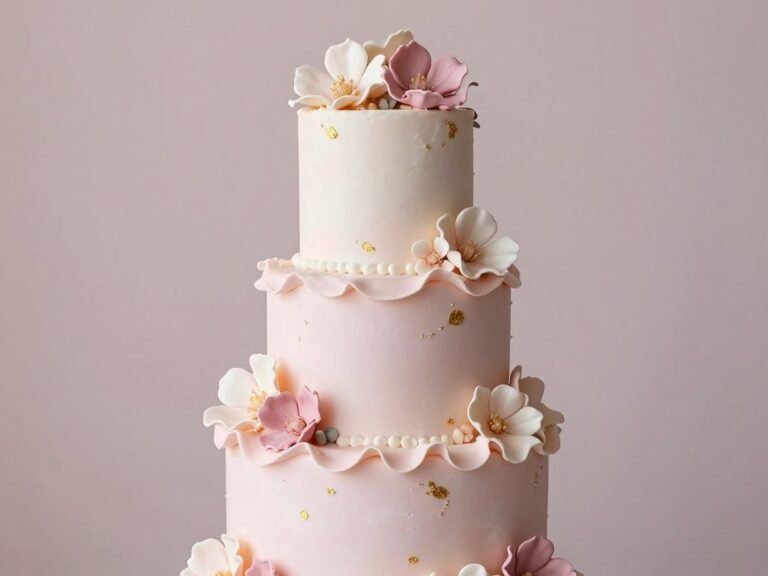
Muted pastels create soft elegance, citrus brights lift outdoor gatherings, and deep jewel tones suit evening events.
Choose tones that harmonize with décor and lighting to keep the design cohesive.
Seasonal cues and ideas to keep your cake on-trend
Spring trends lean floral and fresh fruit. Summer favors tropical hues and lighter fillings.
Fall brings warm spice palettes and piped texture; winter adds metallic accents and cool palettes.
- Silhouettes: single-tier tall cylinders, petite bento sizes, and offset tiers for dimension.
- Motifs: hand-painted florals, abstract brushstrokes, and graphic stripes or dots.
- Planning tip: confirm venue temperature and travel time with your baker so finishes hold up.
birthday cake aesthetic: Creative Designs, Styles, and Visual Appeal
Start with a simple framework: pick one focal idea, one texture, and one accent color. This keeps the centerpiece curated and makes the design feel personal to the guest’s life.
Design ideas that balance style, life, and celebration
Choose clear concepts that photograph well. Try a monochrome buttercream with a sculptural topper, a semi-naked finish with fresh blooms, or a fondant canvas with minimalist debossed lettering.
Scale-smart choices help small cakes read in photos. Use petite lettering, tiny blooms, or a touch of metallic leaf to keep things balanced.
Texture, piping, and finish: where taste meets design
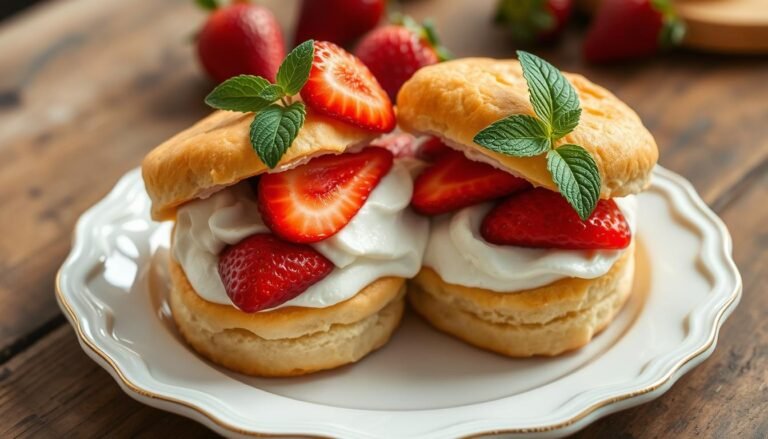
Pick textures that match flavor. Palette-knife petals add organic movement; stucco buttercream gives soft depth; micro-piping frames edges without stealing focus.
Piping motifs—shells, beads, drop strings—set tone. Repeat one motif for visual rhythm. Finish choices matter: matte buttercream softens reflections, glossy ganache adds shine for dramatic shots.

| Design | Texture | Flavor match |
|---|---|---|
| Monochrome buttercream + topper | Smooth with micro-piping | Vanilla bean + airy pastel |
| Semi-naked with blooms | Rustic palette-knife | Citrus filling + sunny tones |
| Fondant debossed lettering | Sleek matte finish | Chocolate layers + moody palette |
From Palette to Plate: Colors, Flavors, and Details That Define the Look
Start with a color anchor pulled from invites, linens, or florals. Build a two-shade palette plus one accent so tones stay harmonious from topper to stand. This simple rule keeps the whole display cohesive and photo-ready.
Match flavor to finish. Bright fruit fillings pair with light buttercream and airy textures. Rich chocolate or salted caramel calls for deeper palettes and sleek ganache to create a true plate-to-palette connection.

Quick styling tips for cohesive cakes, from toppers to tones
- Use slim toppers—acrylic scripts or petite blooms—so proportions feel intentional.
- Repeat one border or line detail on each tier for clean transitions and unified tones.
- Match candles and board finishes to the color story; matte or metallic tapers add polish.
- Edit embellishments to one statement per face to keep details curated and taste-forward.
- Plan lighting and serving logistics with your baker so textures hold and service is smooth.
One last tip: prepare a small styling kit for the day—knife, tweezers, extra candles, and a cloth—to keep surfaces photo-ready and preserve final taste details when you continue reading and polishing the display.
Conclusion
Finish strong with a clear plan that ties theme, color, and finish into one striking centerpiece. , pick a focused theme, set a simple color story, and commit to one or two finishes so your birthday cake aesthetic reads polished and personal.
Use clean edges, small toppers, and well-sized accents for instant charm. Let fillings and textures support the look so photos and taste align.
Next steps: confirm guest count, lock timelines with your baker, and share 3–5 reference images. Sketch favorites this week and email a concise mood board so momentum stays strong.
For more inspiration, explore fresh palettes, seasonal details, and quick personal touches like monograms or tiny motifs. Save this guide and share it with anyone planning a celebration to keep look, logistics, and day-of styling aligned — then continue reading for extra ideas and prompts like cake ideas11 and ideas11 birthday that spark new variations.
FAQ
How do I pick a visual theme that works with my venue and budget?
Start with one hero idea (floral, modern, or retro) and one supporting texture. Choose a two-shade palette plus one accent pulled from your invitations or linens. Share a short mood board (3–5 images) with your baker and confirm portions and timeline to match your budget.
What design elements photograph best under typical party lighting?
Matte buttercream and soft palette-knife textures diffuse light nicely, while glossy ganache and metallic leaf reflect highlights. For warm bulbs, favor muted tones; for cool LEDs, pick crisper hues. Test a photo of a single slice under your venue lighting if possible.
How can I make a small cake look intentional and not crowded?
Scale down details: use petite lettering, a single mini bloom, or a thin band of metallic leaf. Keep one focal finish and one accent color so the design reads clearly without overwhelming the small surface.
Which finishes pair best with popular fillings and flavors?
Match weight and mood: light buttercream suits citrus and berry fillings, while ganache or caramel pairs with dense chocolate. Vanilla bean and airy fillings go with soft pastels. Choose finishes that support the flavor profile and overall tone.
What should I tell my baker about transport and setup?
Confirm venue temperature, travel time, and how the cake will be displayed. Ask about internal supports for tall tiers, chill time between layers, and best transport boxes. Bring a clean cake knife and a microfiber cloth for day-of touch-ups.
How many servings do I need for my guest count and tier choice?
Share the guest count with your baker and ask for a slice chart based on tier sizes you like. Bakers can recommend tier heights that balance design with portion needs so you don’t sacrifice decorative elements for servings.
What are easy ways to personalize the look without overdoing it?
Add a custom color blend, a simple monogram topper, or a single playful accent that reflects interests—think a miniature emblem or tailored acrylic script. Keep embellishments to one statement per face for a polished result.
How far in advance should I lock my design and baker?
For standard orders, book 4–6 weeks ahead. For elaborate designs or busy seasons, reserve 8–12 weeks early. Finalize guest count, flavors, and reference images at least two weeks before pickup.
Can I incorporate seasonal elements without limiting my options?
Yes—use seasonal cues for color and small accents (fresh fruit in summer, metallics in winter) while keeping the core design neutral. This lets you adapt to trends without committing to time-sensitive finishes.
What should I include in a concise mood board for my baker?
Include 3–5 images showing the silhouette, texture, and color anchor plus a small swatch or hex codes. Note preferred flavors and any dietary needs so your baker matches taste and looks efficiently.
How do I choose a topper that complements my overall design?
Pick one topper type—acrylic script, miniature fresh blooms, or a wafer-paper accent—and size it to the cake. Match finish (matte vs. metallic) to your palette so the topper reinforces the style instead of competing with it.
What quick fixes help a cake look photo-ready on the day?
Lightly wipe edges with a microfiber cloth, set the cake on a clean board that complements your palette, and use food-safe tweezers to straighten any petals or sprinkles. Capture unboxing and the first slice for the best storytelling shots.