Delicious Homemade Strawberry Cake Filling: The Ultimate Guide
A perfect strawberry cake filling can transform an ordinary dessert into something truly spectacular. This vibrant, sweet-tart filling brings the essence of fresh strawberries to your cakes, cupcakes, and pastries. Whether you’re using peak-season berries or frozen fruit, this versatile recipe delivers consistent, mouthwatering results that will elevate your baking to professional levels. Follow along as we explore everything you need to know about creating the perfect strawberry filling that will have everyone asking for your secret recipe!
This Website contains affiliate links. That means I may earn a small commission if you purchase through my links, at no extra cost to you.
Why Homemade Strawberry Cake Filling Beats Store-Bought
Homemade strawberry filling has a fresher taste and more vibrant color than store-bought versions
Making your own strawberry cake filling isn’t just satisfying—it’s a game-changer for your desserts. Unlike commercial options loaded with preservatives and artificial flavors, homemade filling delivers authentic strawberry flavor that simply can’t be matched.
Benefits of Homemade Filling
- Control over ingredients and sweetness level
- No artificial colors, flavors, or preservatives
- Fresher, more vibrant strawberry taste
- Adjustable consistency for different uses
- More economical, especially during strawberry season
- Customizable with additional flavors like lemon or vanilla
When to Use Strawberry Filling
- Between cake layers for a stunning presentation
- Inside cupcakes as a surprise filling
- As a topping for cheesecakes and ice cream
- Spread on breakfast items like pancakes or waffles
- Filling for tarts, pastries, and crepes
- Mixed into frosting for strawberry-flavored buttercream
Essential Tools for Perfect Strawberry Filling
Having the right equipment makes preparing strawberry cake filling easier and more efficient. These tools help achieve the perfect consistency and texture for your filling.
Basic Equipment
- Medium saucepan with heavy bottom
- Wooden spoon or silicone spatula
- Measuring cups and spoons
- Potato masher or fork
- Heat-resistant bowl
Optional Tools
- Immersion blender for smoother texture
- Fine mesh strainer for seedless filling
- Strawberry huller for fresh berries
- Digital kitchen scale for precise measurements
- Canning jars for storage
For Cake Assembly
- Piping bags and tips for frosting dams
- Offset spatula for spreading filling
- Cake turntable for easy decorating
- Cake leveler for even layers
- Cake boards for support

Having the right tools makes preparing strawberry filling quick and easy
Classic Strawberry Cake Filling Recipe

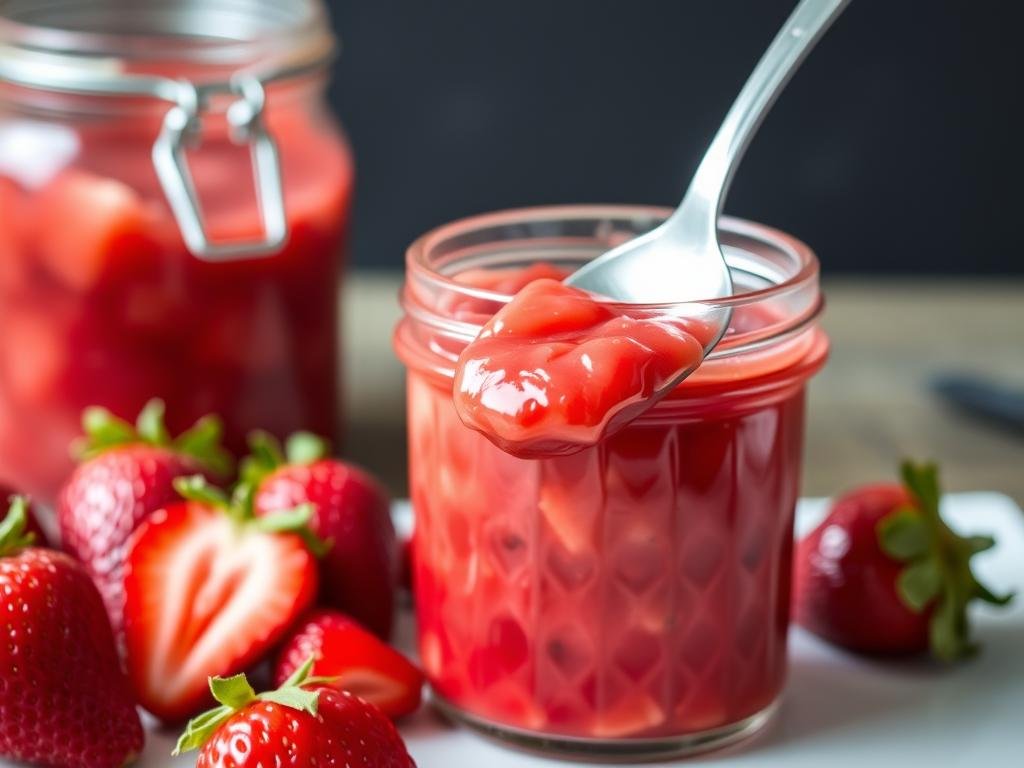
The filling will thicken as it cooks and become even thicker once cooled
Ingredients
- 3 cups fresh or frozen strawberries, hulled and diced
- ½ cup granulated sugar (adjust to taste)
- 2 tablespoons cornstarch
- 1 tablespoon fresh lemon juice
- ¼ cup water
- Optional: ½ teaspoon vanilla extract
Kitchen Tools Needed
- Medium saucepan
- Wooden spoon or silicone spatula
- Measuring cups and spoons
- Potato masher
- Storage container with lid
Step-by-Step Instructions
- Prepare the strawberries: If using fresh strawberries, hull and dice them into small pieces. If using frozen, thaw completely and drain excess liquid.
- Create cornstarch slurry: In a small bowl, whisk together the cornstarch and water until smooth with no lumps.
- Combine ingredients: Add strawberries, sugar, and lemon juice to a medium saucepan and stir to combine.
- Cook the mixture: Heat over medium-low heat, stirring frequently until the strawberries begin to soften and release their juices (about 5 minutes).
- Mash the strawberries: Use a potato masher to gently crush about half of the strawberries, leaving some chunks for texture.
- Add cornstarch slurry: Pour the cornstarch mixture into the saucepan and stir well to incorporate.
- Thicken the filling: Bring to a gentle simmer and cook for 2-3 minutes, stirring constantly until the mixture thickens and becomes glossy.
- Cool completely: Remove from heat and allow to cool to room temperature. The filling will continue to thicken as it cools.
- Refrigerate: Transfer to an airtight container and refrigerate for at least 4 hours or overnight before using in cakes.
Pro Tip: For the best texture in your strawberry cake filling, aim to mash only about half of the strawberries. This creates a perfect balance of smooth filling with delightful strawberry chunks that add character to every bite.
Delicious Variations of Strawberry Cake Filling

Different flavor combinations can create unique strawberry fillings for various desserts
The classic strawberry filling recipe is wonderful on its own, but these creative variations can add exciting new dimensions to your desserts. Each offers a unique flavor profile while maintaining that essential strawberry goodness.
Strawberry-Lemon
The bright citrus notes complement the sweetness of strawberries perfectly.
- Add zest of 1 lemon to the basic recipe
- Increase lemon juice to 2 tablespoons
- Reduce water by 1 tablespoon
- Perfect for summer cakes and tarts
Strawberry-Vanilla Bean
Adds warmth and depth to the strawberry flavor for an elegant filling.
- Add seeds from 1 vanilla bean pod
- Or substitute 1 teaspoon pure vanilla extract
- Reduce sugar slightly if using extract
- Ideal for wedding cakes and special occasions
Mixed Berry Filling
Creates a more complex berry flavor while maintaining the strawberry base.
- Replace 1 cup of strawberries with raspberries or blueberries
- Increase sugar by 1-2 tablespoons if using tart berries
- Add ¼ teaspoon cinnamon for warmth (optional)
- Perfect for chocolate cakes and cheesecakes
Need Storage Solutions for Your Fillings?
Proper storage containers help preserve your homemade fillings and keep them fresh longer. Mason jars are perfect for storing strawberry cake filling in the refrigerator.
Tips for Achieving the Perfect Consistency

The spoon test is a reliable way to check if your filling has reached the right consistency
Getting the consistency right is crucial for a successful strawberry cake filling. Too thin, and it will soak into your cake or run out the sides. Too thick, and it won’t spread properly or may taste starchy.
For Thicker Filling
- Increase cornstarch by ½-1 tablespoon
- Cook the mixture longer to reduce more liquid
- Use a higher proportion of fresh berries (less water content)
- Allow more cooling time before using
- Add 1 tablespoon of strawberry jam for body
For Thinner Filling
- Reduce cornstarch by ½-1 tablespoon
- Add 1-2 tablespoons of water or juice
- Cook for a shorter time
- Use more frozen berries (higher water content)
- Blend filling completely for smoother consistency
Testing for Doneness
“The perfect strawberry filling should coat the back of a spoon and hold a line drawn through it with your finger. This indicates it has reached the ideal thickness for cake filling.”
The Spoon Test
- Dip a clean spoon into the hot filling
- Lift and turn the spoon so the back is facing you
- Draw your finger through the coating on the spoon
- If the line holds clearly without running back together, your filling is ready
The Temperature Test
For precise results, use a candy thermometer:
- Filling should reach 220°F (104°C)
- At this temperature, the cornstarch is fully activated
- The mixture will be noticeably thicker
- Remove from heat immediately once temperature is reached
How to Use Strawberry Filling in Layer Cakes

Creating a frosting dam prevents the filling from leaking out between cake layers
Properly assembling a cake with strawberry filling requires a few special techniques to ensure the filling stays in place and doesn’t soak into the cake layers.
Step-by-Step Cake Assembly
- Prepare cake layers: Ensure all cake layers are completely cooled. If needed, level the tops with a serrated knife for flat, even surfaces.
- Create a frosting dam: Using a piping bag fitted with a round tip, pipe a ring of buttercream around the edge of the bottom cake layer. This creates a barrier that will hold the filling in place.
- Add the filling: Spoon strawberry filling inside the frosting dam, spreading it evenly but not overflowing. Leave about ¼ inch from the edge of the dam.
- Stack carefully: Gently place the next cake layer on top, pressing down very slightly to secure.
- Repeat if needed: For three or more layer cakes, repeat the dam and filling process for each layer.
- Crumb coat: Apply a thin layer of frosting over the entire cake and chill for 15-30 minutes to set.
- Final frosting: Complete the cake with your final layer of frosting and decorations.
Troubleshooting Tip: If your filling is too runny or leaking out, refrigerate the cake for 30 minutes to help set the filling before continuing with frosting. For future cakes, make your filling slightly thicker or your frosting dam taller.
Creative Ways to Use Strawberry Cake Filling

Strawberry filling is versatile and can enhance many different desserts
Don’t limit your delicious strawberry filling to just layer cakes! This versatile concoction can elevate many desserts and even breakfast items. Here are some creative ways to use your homemade strawberry cake filling:
For Desserts
- Fill cupcakes by coring the center
- Layer in parfait glasses with whipped cream
- Top cheesecakes or pound cake
- Fill crepes or fold into crepe batter
- Use as filling for macarons or sandwich cookies
- Swirl into brownie batter before baking
For Breakfast
- Spread on toast or English muffins
- Top pancakes or waffles
- Swirl into oatmeal or yogurt
- Fill crepes for breakfast crepes
- Use as a topping for French toast
- Mix into cream cheese for bagel spread
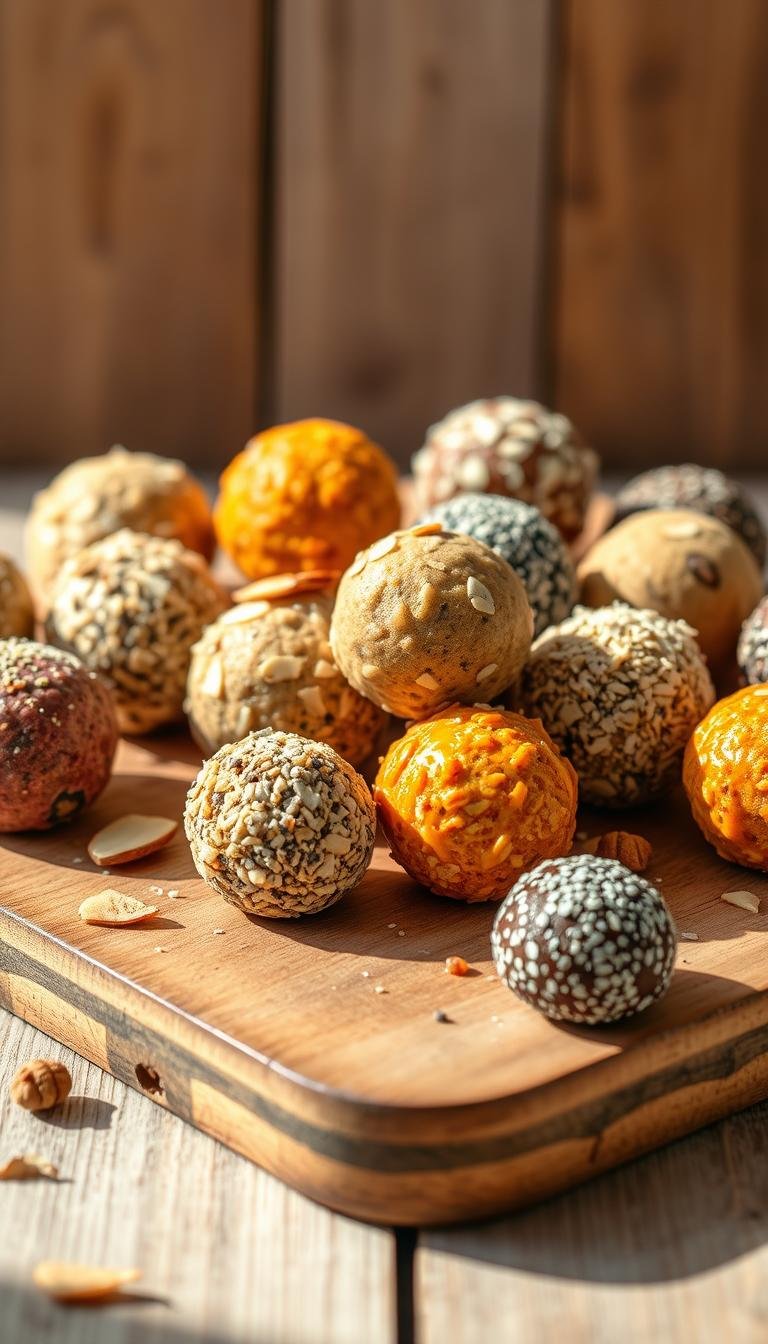
For Special Occasions
- Fill chocolate-dipped strawberries
- Layer in trifles with cake and custard
- Use as filling for homemade pop tarts
- Pipe into chocolate cups for elegant desserts
- Create strawberry thumbprint cookies
- Fill mini tart shells for bite-sized treats

Strawberry filling makes a delicious addition to breakfast items like pancakes and waffles
Storage and Shelf Life of Strawberry Cake Filling

Proper storage in airtight containers extends the shelf life of your filling
Proper storage is essential to maintain the quality and safety of your homemade strawberry cake filling. Unlike store-bought versions with preservatives, homemade filling has a shorter shelf life but superior flavor.
Refrigerator Storage
- Store in airtight containers or mason jars
- Keeps fresh for 7-10 days in the refrigerator
- Place plastic wrap directly on the surface to prevent skin formation
- Label containers with the date made
- Allow to come to room temperature before using for easier spreading
Freezer Storage
- Freezes well for up to 3 months
- Use freezer-safe containers with ½ inch headspace
- Thaw overnight in refrigerator before using
- Stir well after thawing to restore consistency
- Do not refreeze after thawing
“For the best quality, use refrigerated strawberry filling within one week. The flavor and texture are at their peak during this time, making your cakes and desserts truly exceptional.”
Perfect Storage Solutions
Keep your homemade strawberry filling fresh with proper storage containers. Mason jars are ideal for refrigerator storage, while freezer-safe containers work best for longer-term preservation.
Frequently Asked Questions About Strawberry Cake Filling
Can I use frozen strawberries instead of fresh?
Yes, frozen strawberries work perfectly for cake filling! Thaw them completely first and drain any excess liquid before using. Frozen berries often release more juice, so you might need to cook the filling slightly longer or add a bit more cornstarch to achieve the desired thickness.
How do I prevent my cake from getting soggy with strawberry filling?
To prevent soggy cake layers, make sure your filling is properly thickened and cooled completely before using. Always create a frosting “dam” around the edge of each cake layer before adding the filling. This barrier contains the moisture and prevents it from seeping into the cake. Additionally, avoid overfilling the layers, and assemble the cake no more than 24 hours before serving.
Can I make strawberry cake filling without cornstarch?
Yes, there are several alternatives to cornstarch. You can use the same amount of arrowroot powder for a glossier finish, or twice the amount of all-purpose flour (though this may affect the flavor slightly). Tapioca starch (2 tablespoons) or agar-agar (1 teaspoon) can also work as thickeners. Each alternative will produce slightly different textures and set times.
How far in advance can I make strawberry filling for a cake?
You can make strawberry filling up to 7 days in advance if stored properly in the refrigerator. For best results when planning for a special event, make it 2-3 days ahead. This gives the flavors time to develop while ensuring the filling is still at its peak freshness when used in your cake.
My filling is too runny. How can I fix it?
If your filling is too thin, you can return it to the saucepan and create a new slurry with 1 teaspoon cornstarch and 1 tablespoon cold water. Whisk this into the warm filling and simmer for 1-2 minutes until thickened. Alternatively, if the filling is already cooled, mix 1 teaspoon of powdered gelatin with 1 tablespoon cold water, let it bloom for 5 minutes, then heat gently until dissolved and stir into your filling.

Consistency issues can usually be fixed by adjusting the thickener or cooking time
Perfect Your Strawberry Cake Filling

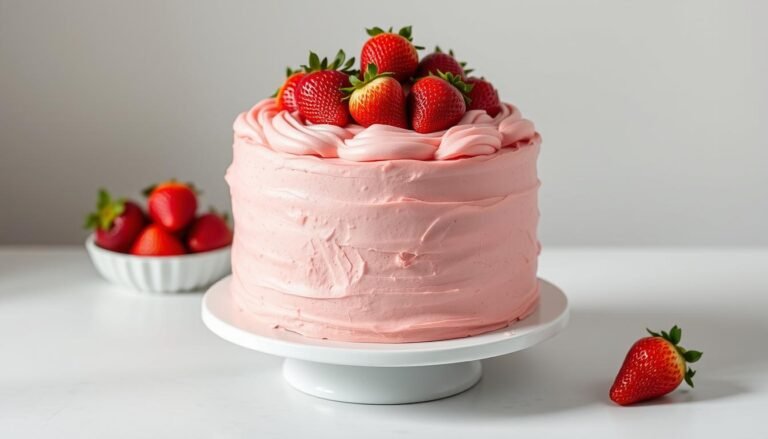
A beautiful layer cake with homemade strawberry filling makes an impressive dessert for any occasion
Mastering homemade strawberry cake filling opens up endless possibilities for creating spectacular desserts. With just a few simple ingredients and techniques, you can create a filling that’s far superior to anything store-bought. The vibrant color, fresh flavor, and perfect consistency will elevate your cakes, cupcakes, and other treats to professional quality.
Remember that practice makes perfect—don’t be discouraged if your first attempt isn’t exactly as you imagined. Each time you make this versatile filling, you’ll gain confidence and may discover your own favorite variations. Whether you’re baking for a special occasion or simply treating yourself, homemade strawberry filling is sure to impress and delight everyone who tastes it.
Ready to Start Baking?
Get all the tools you need to create perfect strawberry cake filling and stunning decorated cakes. From essential baking equipment to specialized decorating supplies, these quality tools will help you achieve professional results.