40th Birthday Cake for Women: Unique Designs & Ideas
Surprising fact: nearly 70% of people say turning forty feels like a fresh milestone that sparks big, personal celebrations.
This Website contains affiliate links. That means I may earn a small commission if you purchase through my links, at no extra cost to you.
That feeling makes this the perfect time to plan a showstopping centerpiece.
This quick guide gathers standout, DIY-friendly ideas to help you build a memorable dessert centerpiece. You’ll find designs that suit a range of tastes and budgets, from elegant minimal tiers to playful numeric silhouettes.
Practical tips include simple techniques like layering and crumb-coating, plus swaps for gluten-free or vegan diets. We also cover shortcuts that give a bakery look without long prep time.
Whether you bake at home or brief a local bakery, these ideas make it easy to match flavor, color, and topper choices to her personality. Expect serving advice and transport tips so the moment goes smoothly and the celebration feels effortless.
Key Takeaways
- Find DIY and pro-inspired designs that suit many themes and budgets.
- Use flexible ingredient swaps for dietary needs.
- Quick shortcuts deliver polished finishes with less time.
- Plan toppers and colors to create cohesive photos and moments.
- Serving size and transport notes keep the centerpiece stable.
Editor’s Picks: How We Curated the Best 40th Birthday Cakes for Her
We picked standout designs that mix show-stopping looks with practical steps anyone can follow.
Our goal: highlight cakes that look great, travel well, and are easy to finish at home or order from a trusted bakery.
We prioritized adaptability. Number styles let each digit hold a different flavor or color. Naked layers welcome seasonal fruit or fresh florals. Buttercream finishes accept toppers and simple stencils.
Practical checks guided every choice:
- Low learning curve methods like crumb-coating and smooth frosting.
- Options that scale from single tiers to tall multi-layer builds.
- Sturdy decorations that survive transit and warm rooms.
We also leaned into recipe flexibility. The base mix accommodates gluten-free flour, dairy swaps, or egg alternatives while keeping a familiar crumb and bright flavor.
Visual appeal mattered. We favored textures, height, and color contrasts that photograph well indoors or outdoors and hold up through the celebration.
40th birthday cake for women: Standout Designs to Celebrate This Milestone
Standout designs can turn a sweet table into a memorable moment without hours of fuss. Below are six approachable ideas that match different moods and skill levels, with quick tips to finish and transport each centerpiece.

Self-Care Spa Cake
How to build it: wrap a round base in brown fondant to suggest a tub, then swirl blue-and-white vanilla buttercream on top to mimic water and froth. Add tiny fondant towel turbans and cucumber slices for playful detail.
Place a few slim candles safely around the rim and pair the display with a spa voucher as an experiential gift.
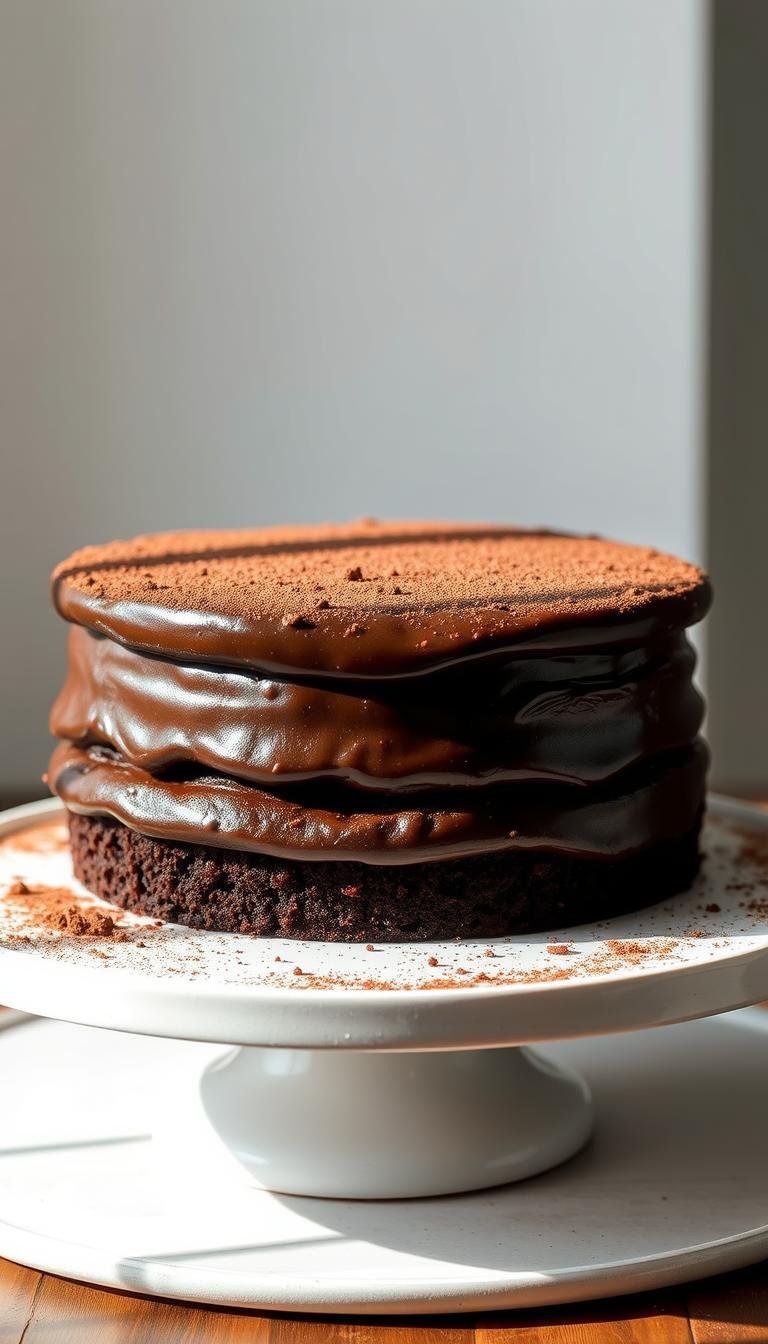
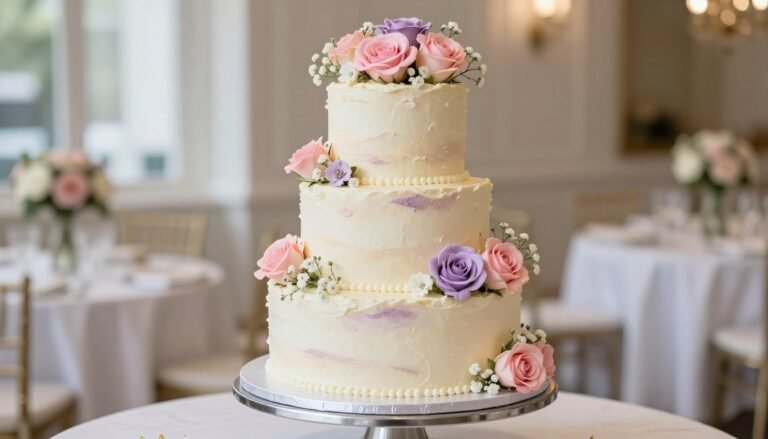
Naked Cake
Cool layers fully, then slice cleanly with taut string or new dental floss. Use thick frosting bands between tiers and leave the sides lightly smoothed for rustic appeal.
Decorate with unsprayed roses or sprigs of lavender and a minimal “40” topper for an elegant look that photographs well indoors or out.
Number 40 Cake
Make two number-shaped cakes and mix flavors—chocolate in one, vanilla in the other—or tint buttercream for contrast.
Top with organic flowers, fruit, or tiny figurines that nod to hobbies to personalize the centerpiece.
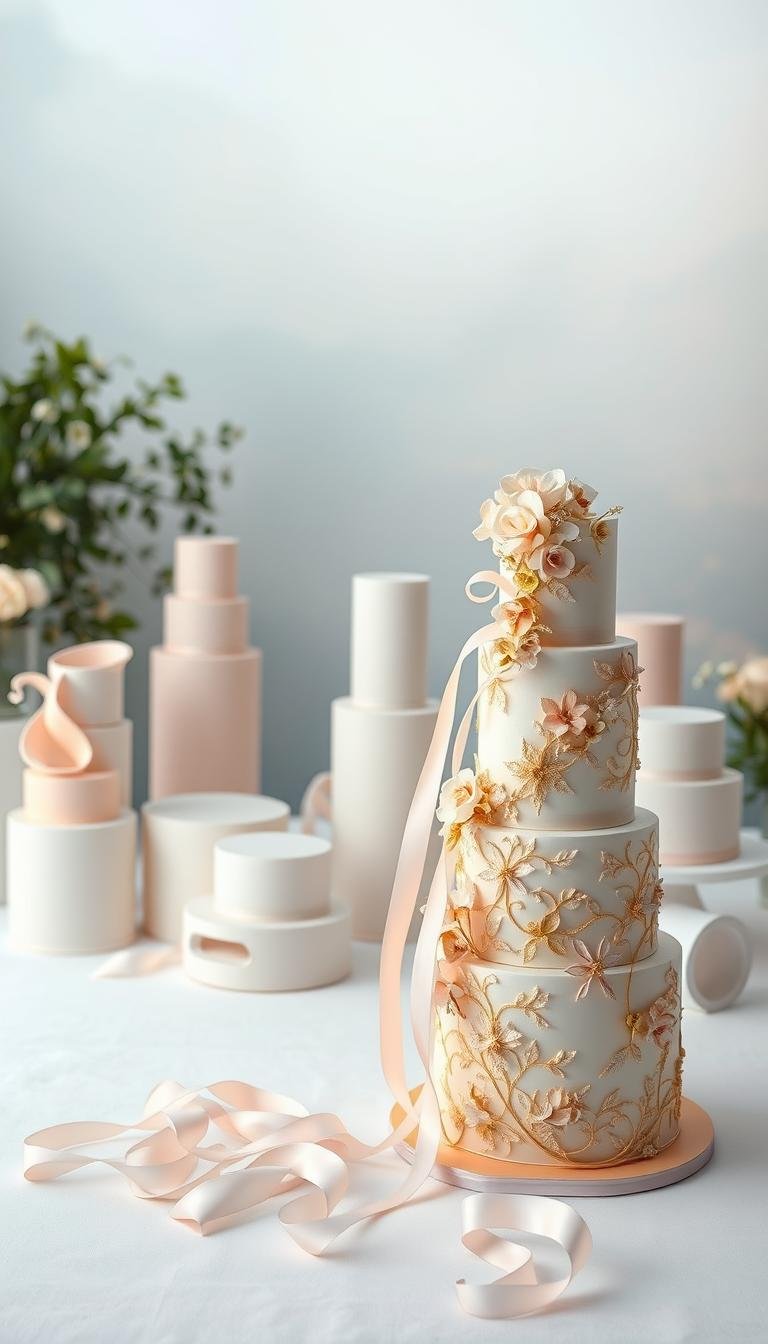
Elegant Sugar Roses & Pearls
Take cues from Sweet Blossom (Northern VA): arrange pale yellow sugar roses across a smooth base and scatter pearls for a timeless, upscale finish that marks the years with grace.
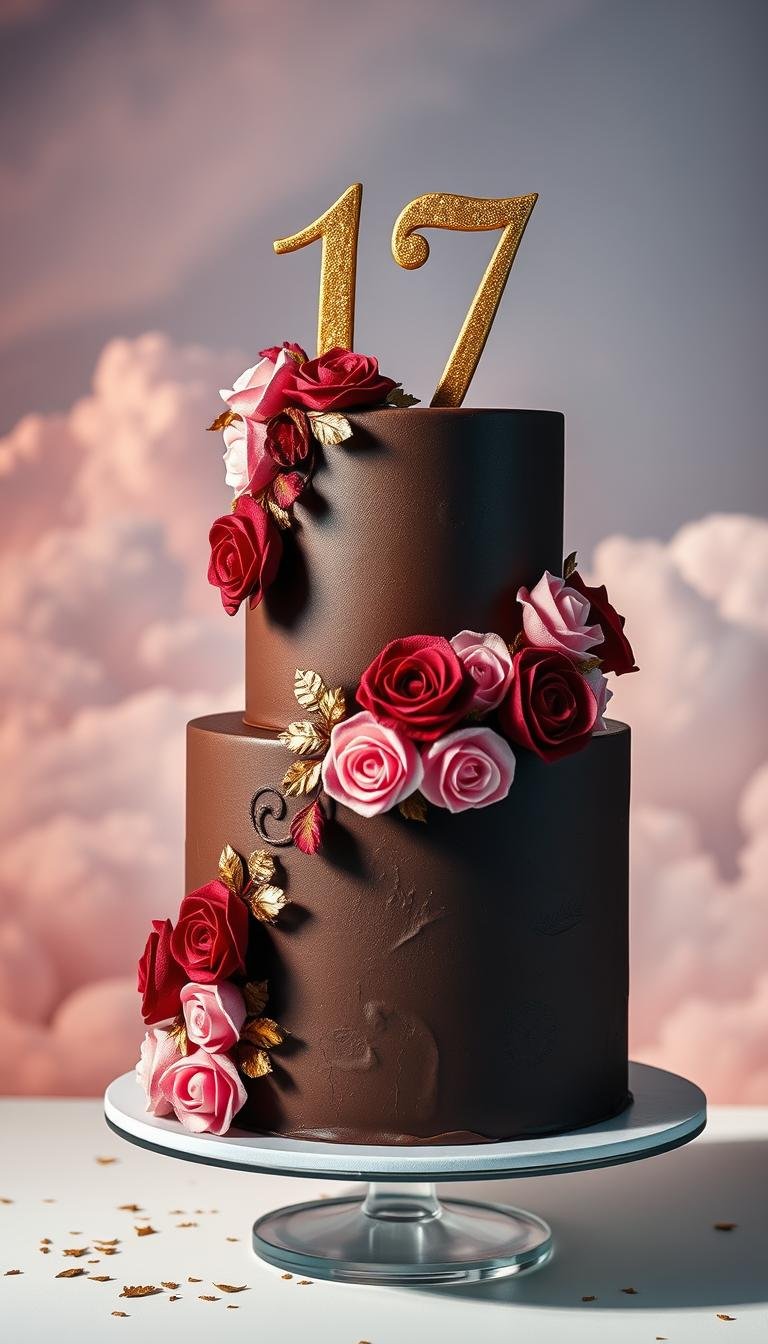
Glamorous Bauble Cake
Stack a tall buttercream base and press on fondant baubles in pink, ivory, and rose gold. Finish with script-style lettering for chic contrast and photo-ready polish.
Funfetti Forty
Press multicolored sprinkles into the frosted sides for joyful texture. Crown with a bold “40” topper and add macarons or jelly candies for a playful, guest-pleasing centerpiece.
- Decor sequence: bake and cool, level layers, fill and crumb-coat, chill, then apply final finishes.
- Transport tips: use non-skid mats, a snug box, a cooled car interior, and bring a small repair kit (offset spatula, spare buttercream).
Simple, DIY-Friendly Birthday Cake Ideas She’ll Love
You can make a memorable centerpiece using clean lines and bold accents. Start with a smooth, white surface and plan the silhouette as the focal point. This keeps the look modern and easy to photograph.

Silhouette Cake
How to build it: frost and cover the tiers in smooth white fondant. Cut black fondant into profiles or full-body shapes of family members and place them around the cake to tell a personal story.
Anchor the scene with a bold “40” topper so the years read clearly in photos. Measure your fondant panel height to avoid seams, and use a light steam or gentle brush to remove cornstarch for a polished finish.
Quick Flavor and Color Swaps
Stick to classic vanilla or chocolate bases for reliable texture. Add a hint of almond, orange, or rose extract to change the profile without altering bake time.
Tint small batches of buttercream for borders or piped accents while keeping the main surface neutral. Add narrow sugar bead borders or a single pearl line beneath the topper for subtle dimension.
- Dietary swaps: use a gluten-free flour blend or plant-based milk and fats to keep the cake moist.
- Timing tip: bake layers a day ahead, wrap cooled layers, and finish decorating the morning of the event.
- Serving: pre-score slices with a warm, dry knife so silhouettes stay intact on the display side.
| Element | Simple Option | Upgrade |
|---|---|---|
| Base flavor | Vanilla | Vanilla + almond extract |
| Finish | White fondant | Matte steam finish, pearl line |
| Decor | Black fondant silhouettes | Layered silhouettes + bold topper |
| Dietary swap | Standard ingredients | Gluten-free flour, plant milk |
Sweet Alternatives to Cake That Still Feel Like a Gift
If a full tiered dessert feels like too much, there are clever swaps that still read as a thoughtful centerpiece. These options travel well, scale to guest counts, and make the moment feel special without a traditional centerpiece.

Cupcakes: Multi-colored buttercream swirls and number 40 toppers
Cupcakes keep portioning simple and look festive on a stand. Bake about 24 from a standard batter, pipe multi-colored buttercream swirls, and cap each with a small “40” topper for a cohesive display.
Mix hues within a palette or vary flavors like vanilla and chocolate to please different guests. Place a single candle on the top tier so the classic wish moment stays front and center.
Waffle Stack “Cake”: Brunch-ready layers with lower-sugar topping options
For a daytime gathering, stack Belgian waffles into a tall brunch centerpiece. Thread slim candles on top and offer lower-sugar toppings such as fresh berries, Greek yogurt, and lightly sweetened compotes on the side.
Keep waffles crisp by assembling just before serving or holding them warm in a low oven. This playful take reads like a gift and doubles as brunch service.
Cheese-Wheel Tower: Savory celebration with a minimalist 40 topper
Build a savory tower from two to four cheese wheels—brie, aged cheddar, and goat cheese work well together. Add a minimalist “40” topper and a ribbon for a clean, elegant look.
Serve with artisanal crackers, fruit, honey, and chutneys so the tower also acts as an hors d’oeuvres station. Paired with a card or a small keepsake server, this alternative feels every bit as thoughtful as a birthday cake.
- Why choose these: they travel better, scale easily, and still serve as a memorable gift.
- Tip: pair any option with a simple topper or monogrammed tool to personalize the moment.
Conclusion
Choose a centerpiece that fits her taste and build a simple schedule so the prep stays calm. Map cooling, crumb-coating, and final finishes into your calendar to avoid last-minute rushes.
Plan buffer time for transport and touch-ups. Short on time? Lean on silhouettes, sprinkle finishes, or a topper-led look. With more hours, add refined touches like sugar pearls and pale yellow roses for an elegant finish.
Keep guests in mind with a mix of flavors or alternatives such as cupcakes, a waffle stack, or a savory cheese tower. Confirm tools, toppers, and finishing elements the day before so the centerpiece looks fresh when it’s time to mark the years.
Enjoy the process — thoughtful planning keeps the moment relaxed and photo-ready.
FAQ
What flavors work best for a milestone celebration cake?
Choose crowd-pleasers like vanilla bean, rich chocolate, or lemon; combine two layers for variety. Add a complementary filling such as raspberry jam, chocolate ganache, or pastry cream to boost flavor and texture without overwhelming the decoration.
How far in advance should I order a specialty design?
Order custom designs at least two to three weeks ahead, and four weeks for complex sugar‑work or seasonal peak dates. This ensures the bakery has time for baking, decorating, and any needed tastings.
Can I make a spa-themed design at home?
Yes. Use blue-tinted buttercream for a water effect, piped white frosting for froth, and rolled fondant for towels and candles. Edible pearls and a dusting of luster powder add a luxe finish with minimal tools.
What are low-sugar options that still feel festive?
Opt for lighter buttercream made with less powdered sugar, fruit-based fillings, or a sponge soaked with flavored syrup. Consider a waffle stack or fruit tart tower as an alternative that cuts refined sugar while keeping a celebratory look.
How do I keep a naked-style tier moist without heavy icing?
Brush each layer with a simple syrup flavored with vanilla, coffee, or citrus before stacking. Use a thin smear of frosting between layers to seal in moisture, and store covered at room temperature if serving within 24 hours.
Are fresh roses safe as cake decorations?
Use unsprayed, food-safe roses and place them on a barrier like parchment or rose picks to prevent contact with frosting. Have the florist confirm the blooms are pesticide-free, and add them shortly before serving for best freshness.
What sizes should I pick to feed a party of mixed ages?
For mixed groups, estimate one slice per guest. A 9-inch two-layer cake serves about 20, a 10-inch two-layer serves about 28. Cupcakes or a mixed dessert table help accommodate kids and adults with different portion preferences.
Can I request multiple flavors in a single dual-digit design?
Absolutely. Many bakeries offer split-flavor options so each digit can be a different cake. Coordinate complementary frostings and fillings to maintain balance, and confirm structural supports if tiers are stacked.
How should I transport an elaborately decorated centerpiece cake?
Chill the cake to firm up the frosting, place it on a non-slip mat in a sturdy box, and keep it level in the car. Drive slowly, avoid extreme temperatures, and bring a repair kit with extra frosting and a spatula for touch-ups.
What are elegant, low-effort topper ideas?
Choose a simple metallic or acrylic numeral topper, a fresh herb sprig like rosemary, or a cluster of edible flowers. These options add sophistication without complicated piping or sugar work, keeping assembly quick and stress-free.